Disclaimer: This guide shows how to directly edit the XML save files for X Rebirth. Mistakes during editing can easily render the save file useless. BACK UP ANY SAVE FILES BEFORE EDITING. I take no responsibility for damage done to the save files, your computer or your general health if the below guide doesn’t work. The guide works for me at the time of writing though and should work fine for anyone looking to fix their broken ships as long as care is taken when changing the save file.
Guide:
After a hostile takeover the ship will be in pretty poor condition with both engines and jump drive blown to pieces. So far I haven’t been able to fix a ship to the point where it’s able to move about and be of use through the game itself. Others seem to have the same problem. Maybe there is a way to do it. Please do let me know if you know. In the meantime this workaround is useful.
To repair a boarded ship via a save file, follow the below steps:
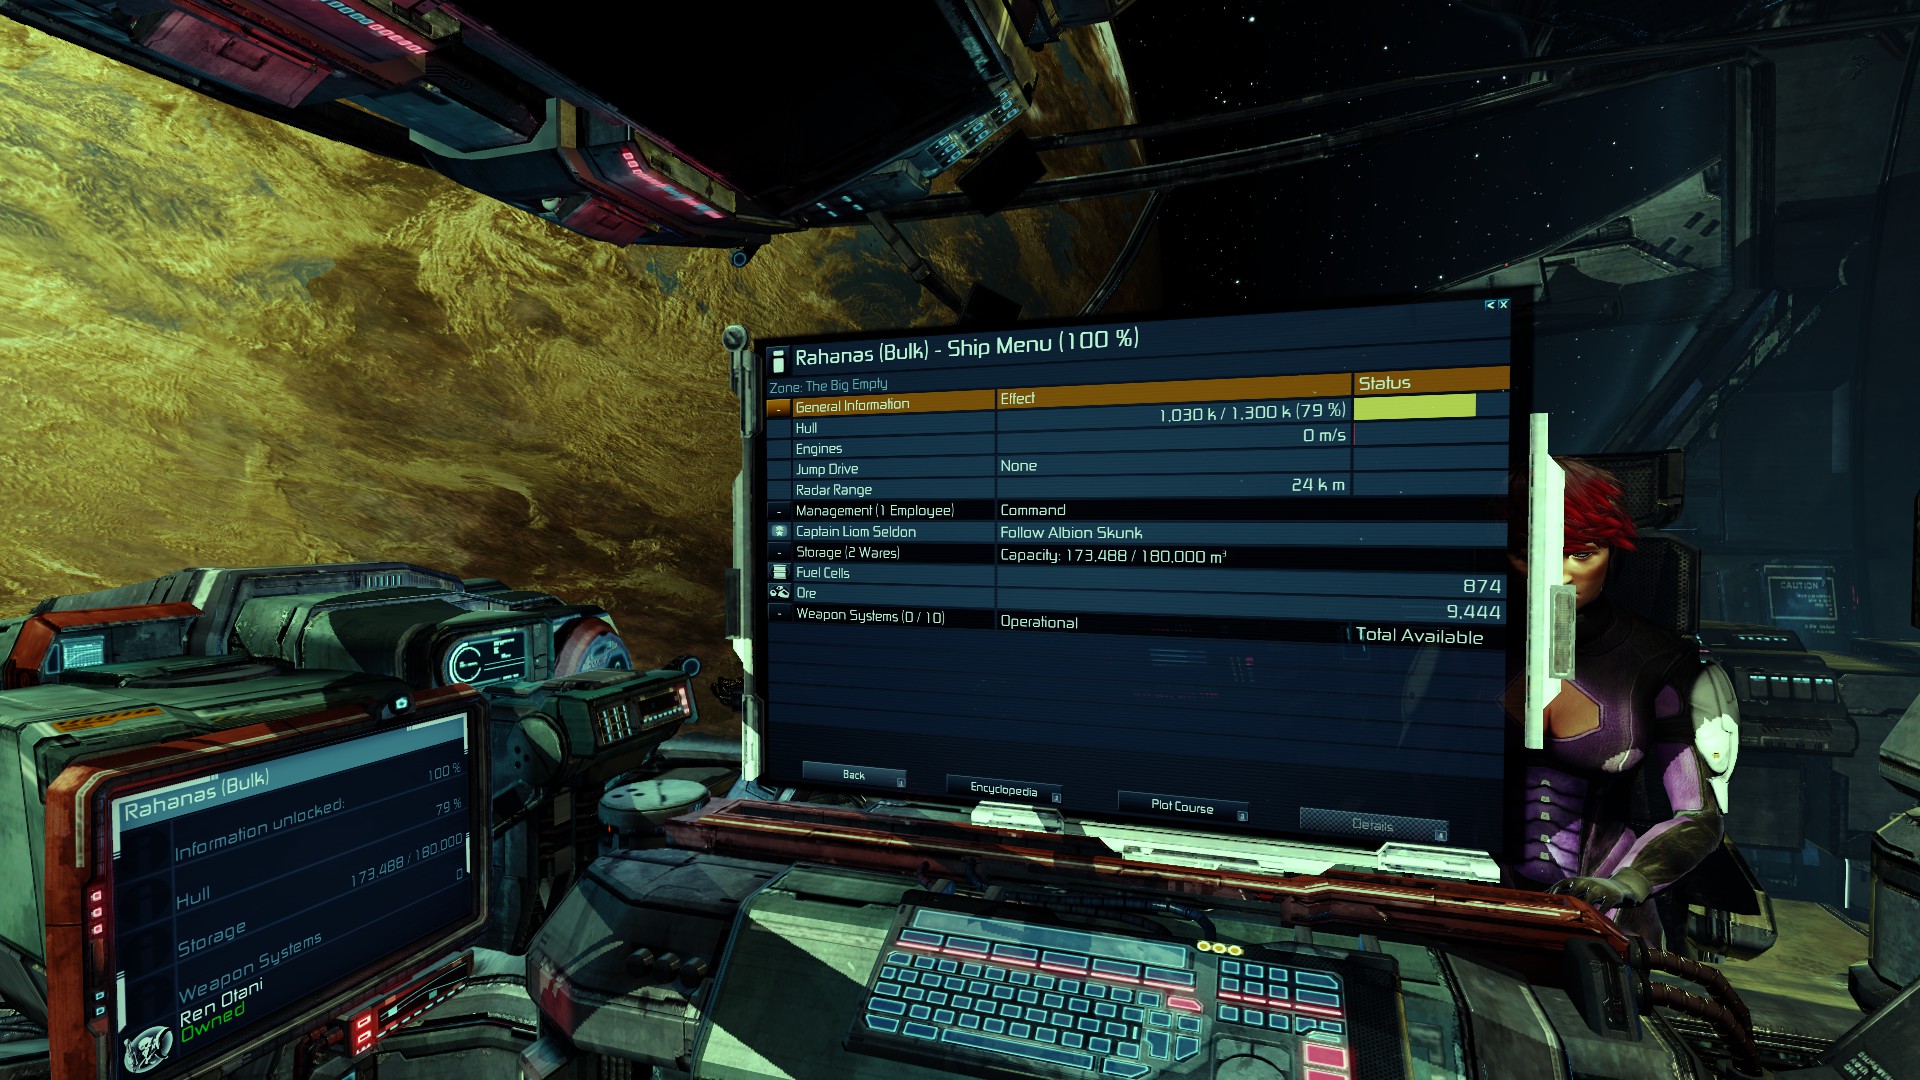
1. Save the game and make note of the number of the save. Also make note of the captains name.
Viewing the captains name can be done by: [Enter] -> [2 Property owned] -> Select “DE” for the ship to view details for.

2. Exit the game and use Windows Explorer to navigate to the following folder:
. Substitute “your username” with the user account currently logged on to the computer and the “random number” with the number shown for your particular installation. It appears to be random, but since it’s only one folder it will be easy to find.
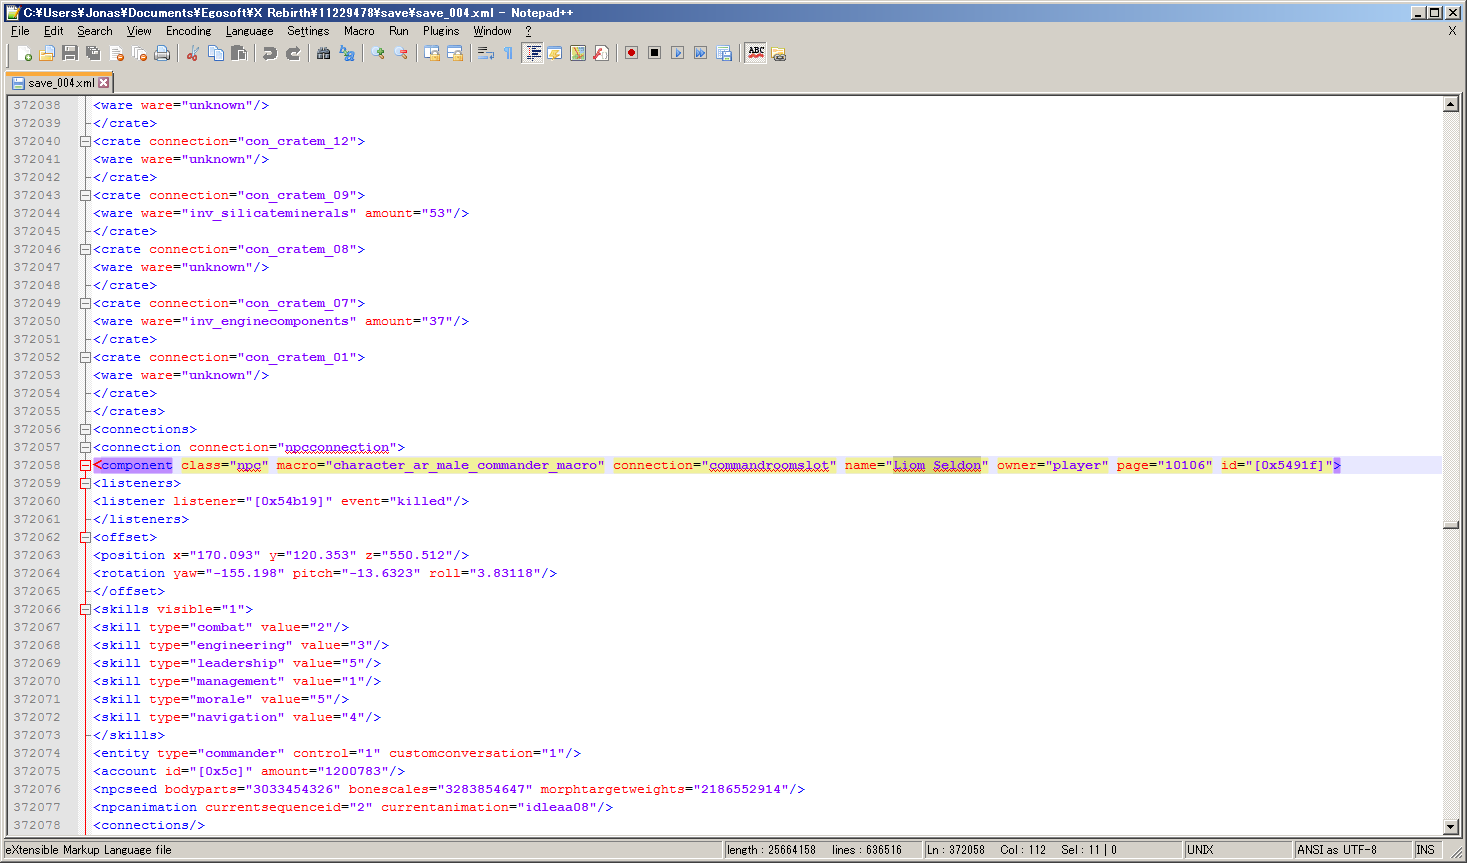
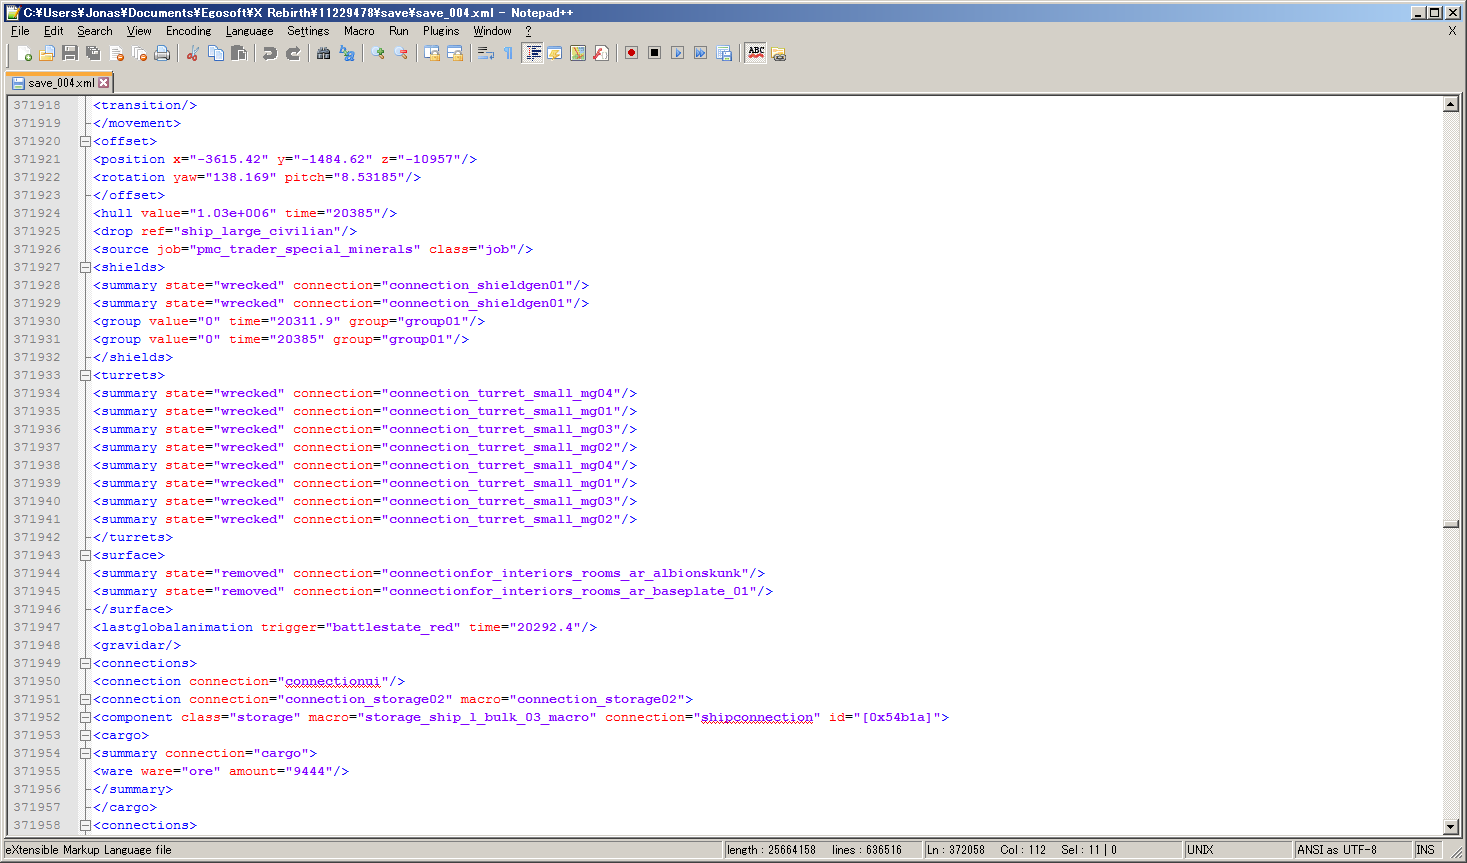
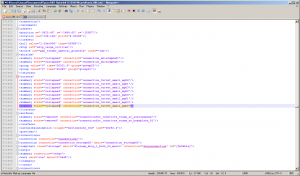
3. Find the save file and open it with a text editor. Personally I highly recommend “Notepad++” since the save file is XML and Notepad++ supports syntax highlights. This makes it easier to edit the file
4. Search for the captains name in the save file
5. Scroll up a few steps and look for the word “wrecked”

6. Change “wrecked” to “collapsed”
7. Scroll down, past the captain until the “jumpdrive” is listed
8. Change “wrecked” to “collapsed”
9. Scroll down further and look for “engine”. There will be multiple entries (two entries for each engine on a Rahanas).
10. Change “wrecked” to “collapsed”
11. Save the file
12. Start X Rebirth and load the saved game. The ship will now be repaired.
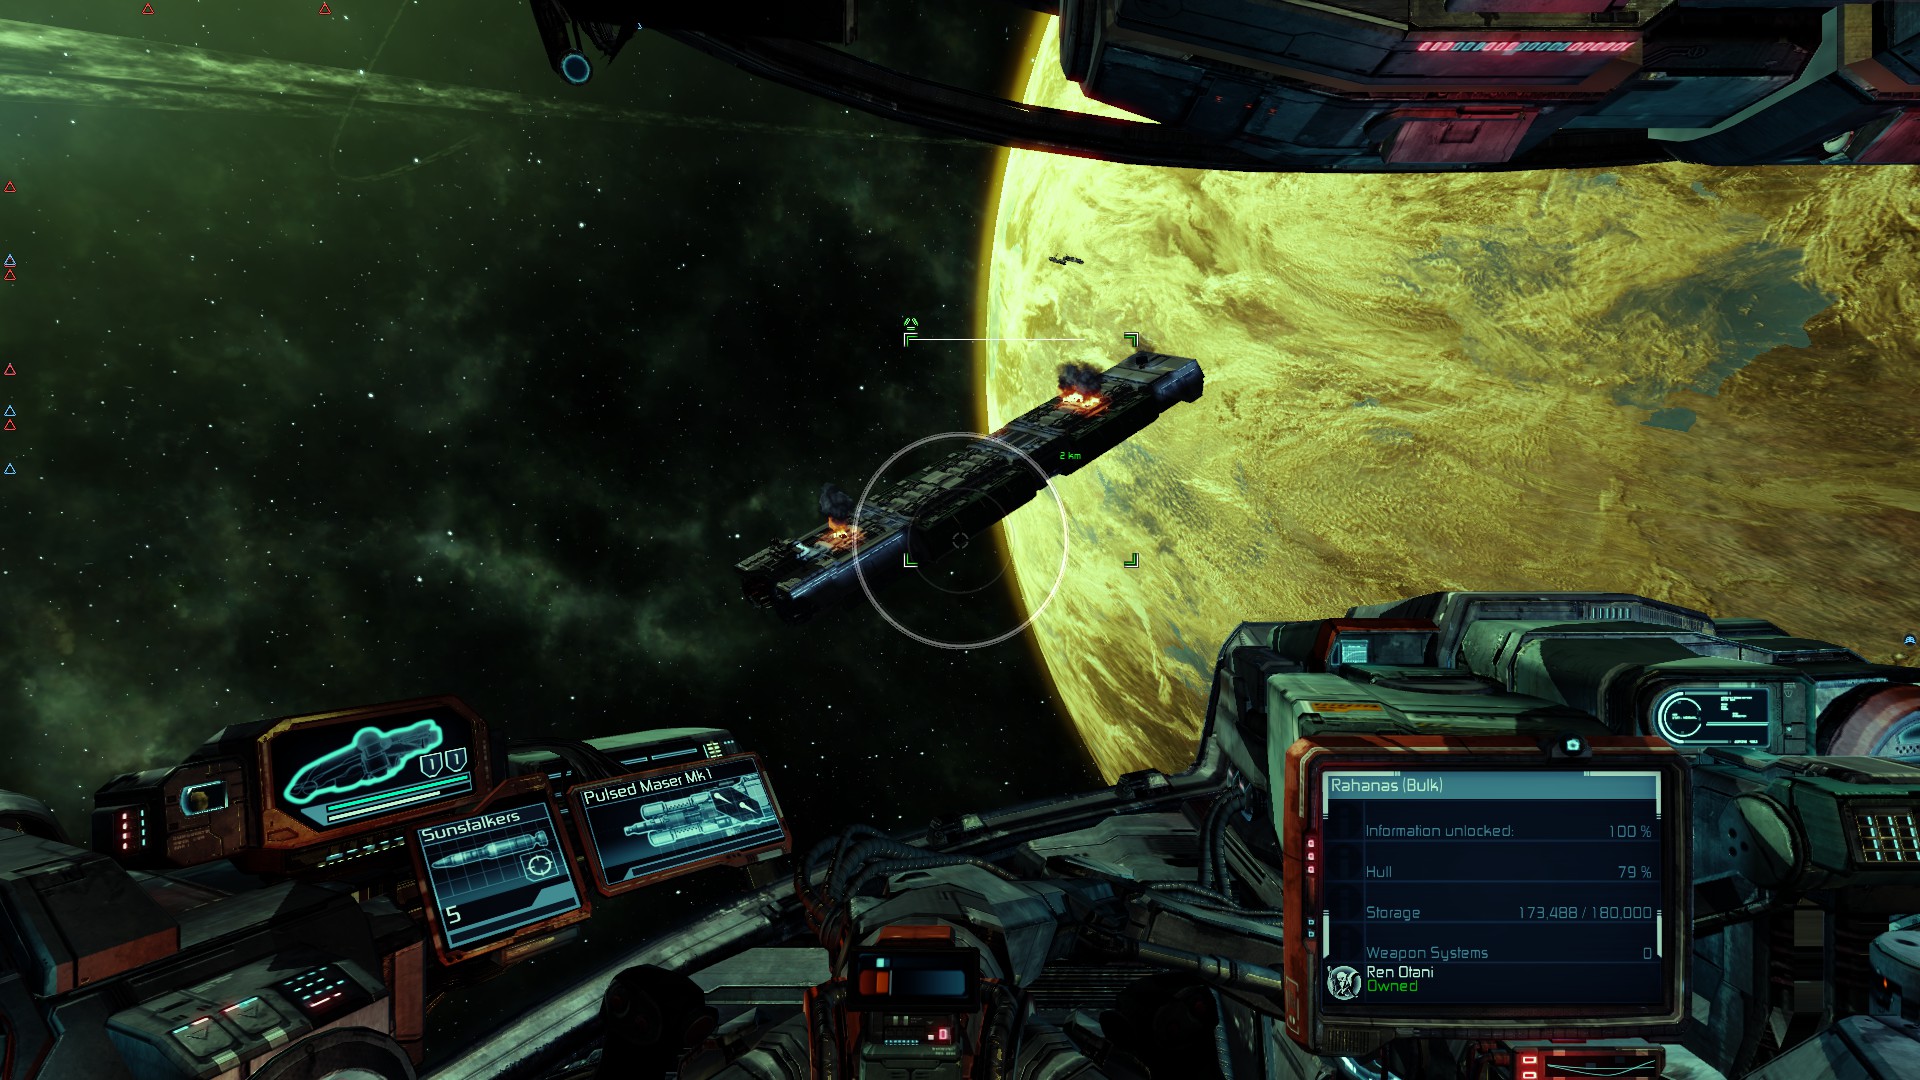
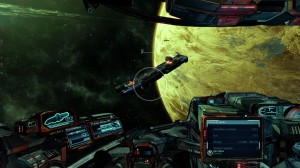
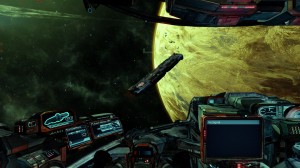
Before repair:
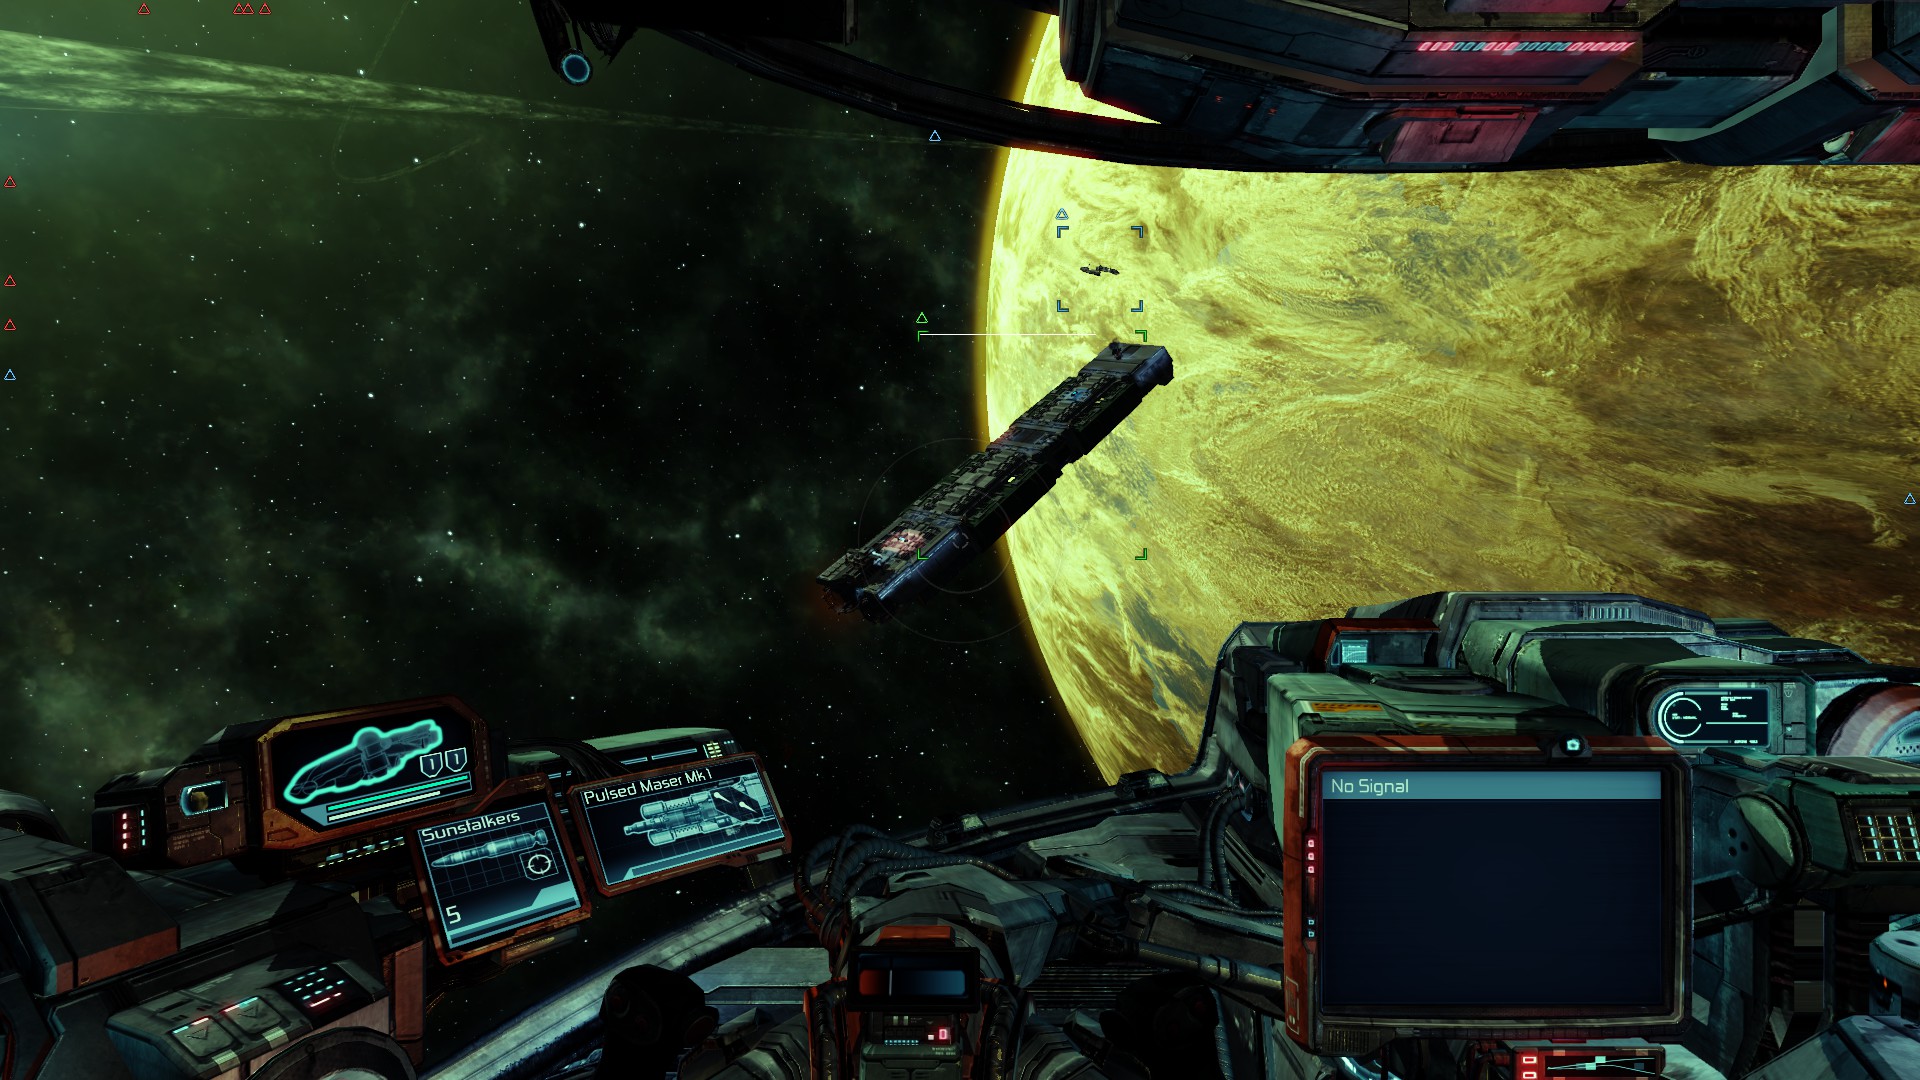
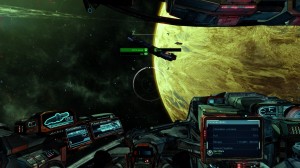
After repair:
Add to squad:
Finally, to enable trading with the new ship it needs to be added to the players squad. To do this, double-click the ship and select “Add to squad”:
Enjoy your new freighter!