Sleeper Sharp MZ-2000 virtualization, container and file server
Introduction: The Sharp MZ-2000 sleeper server project
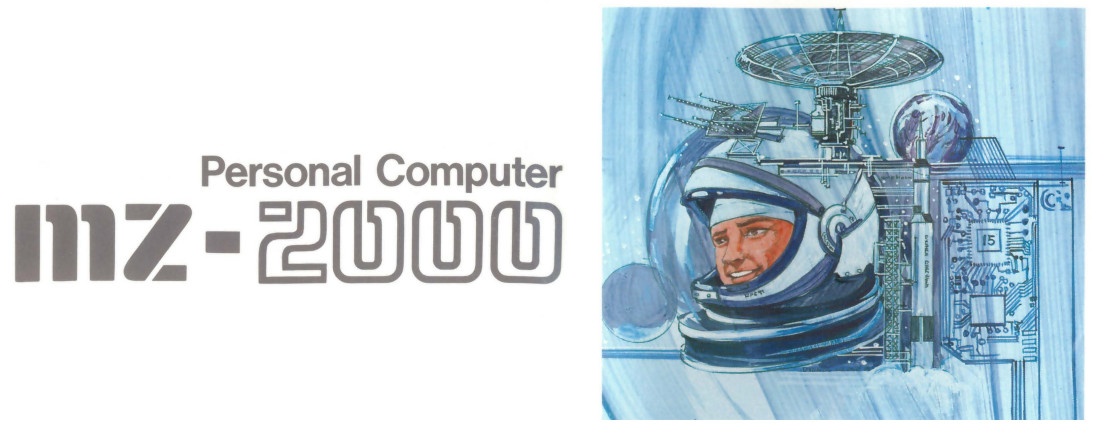
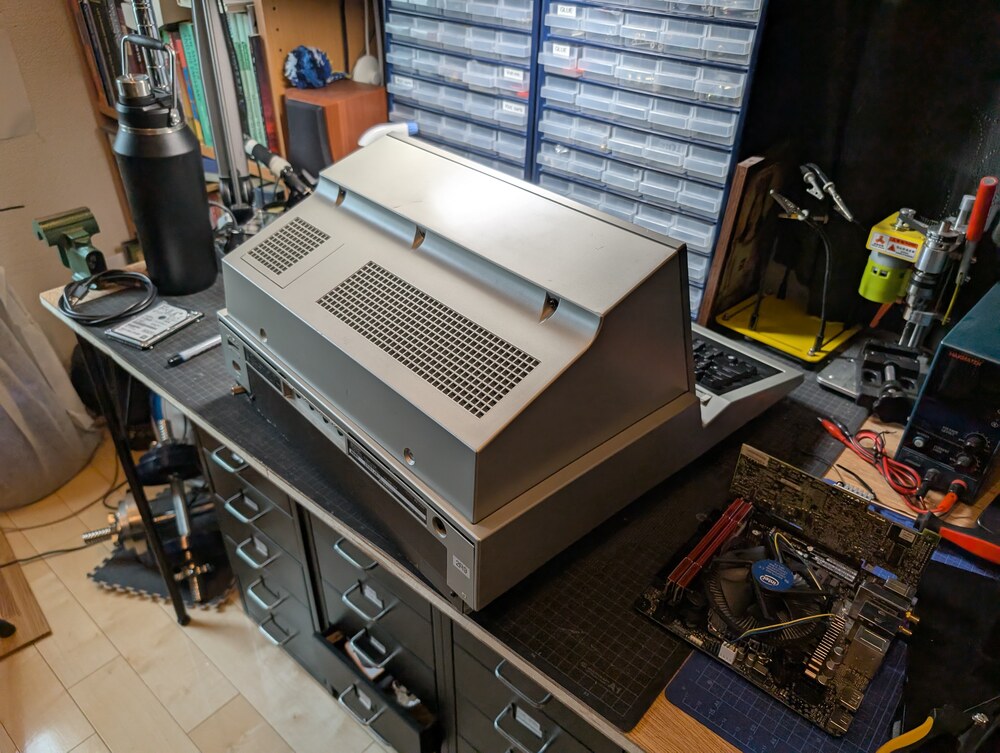
Over the years, Japan has amassed an amazing collection of hardware designs, particularly during the 1980s and 90s. During this era, Sharp produced some remarkably futuristic-looking personal computers. The MZ-2000 and MZ-2200, released around 1983-84, evoke thoughts of both nuclear power plant control surfaces and possible future interface panels of orbiting space stations. They have a wonderful aesthetic, and while I wanted to have one at home, I knew I didn’t possess the time it would take to fix and refurbish one. The original manual is very detailed and even includes circuit diagrams of the computer.
A lucky break
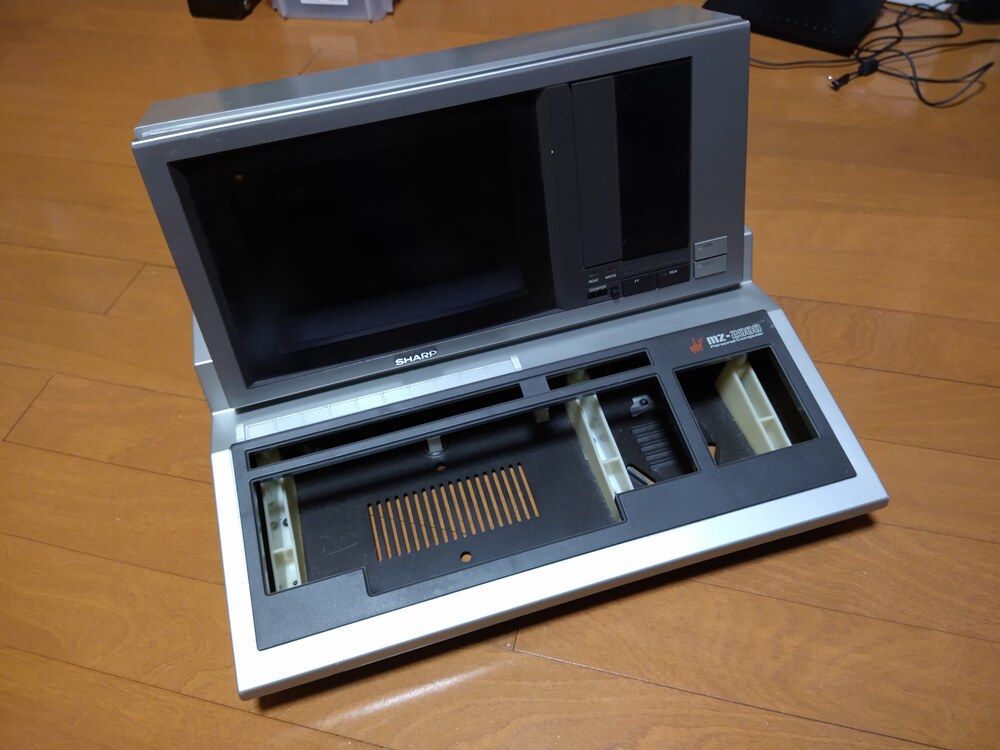
Then, in the spring of 2021, one of these items showed up on Yahoo Auctions in Japan. The auction only included the shell of the computer - no internals whatsoever. No motherboard, keyboard, tape drive, or CRT monitor. Nothing beyond the shell. But that was perfect for a project: with this it would be possible to build something new while keeping the aesthetics of the original. I wouldn’t have to feel bad about ruining something that might still have the potential to be brought back to life. This one was gutted, and therefore an ideal foundation for a new adventure
Sketching ideas
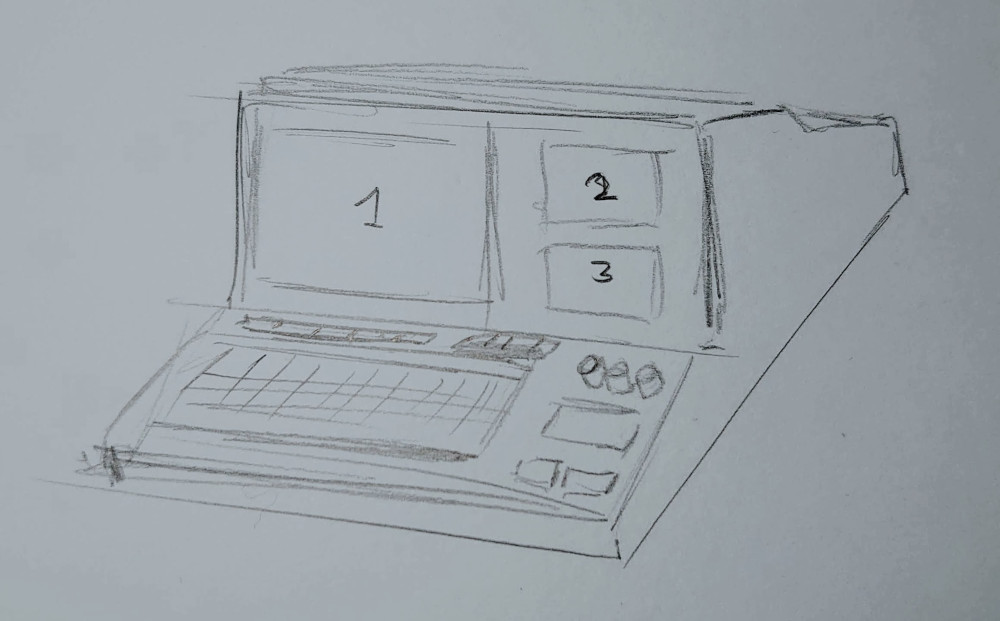
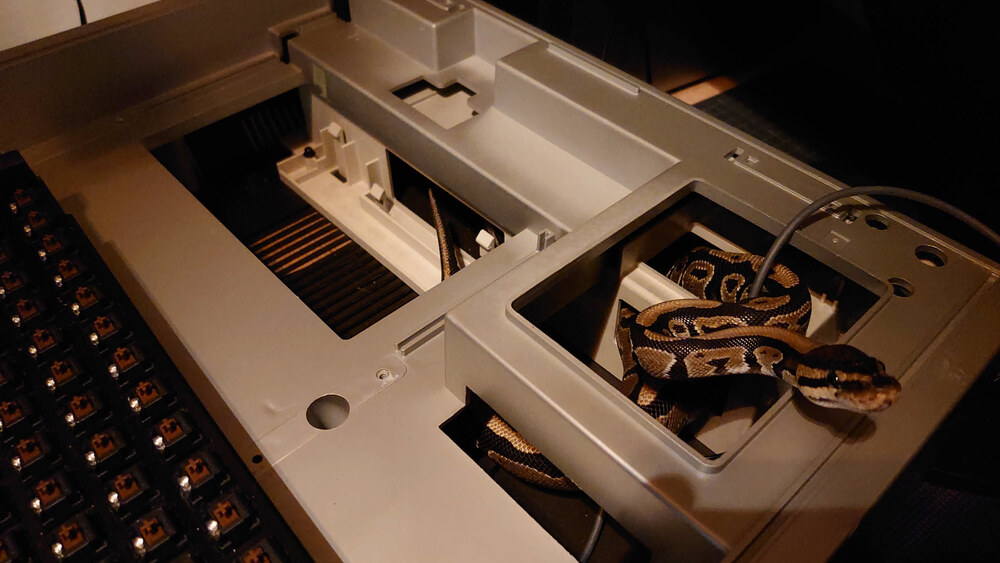
Since there was no keyboard, we had a fair bit of space to work with. While it obviously needed a keyboard, there was no need for it to take up quite as much space as the original did. Small side monitors with touch capabilities could be used as additional control surfaces with multiple touch buttons. Perhaps these could run in a container and be accessed via a browser maximized to cover the entirety of the small monitor. The question of how to best leverage the tape deck was also present. In the end, I settled on using an old 3.5” SD-card and USB extension module from another PC. This would provide an easy way to plug in USB sticks and camera memory cards for syncing with a file server VM running on the server.
Hardware considerations
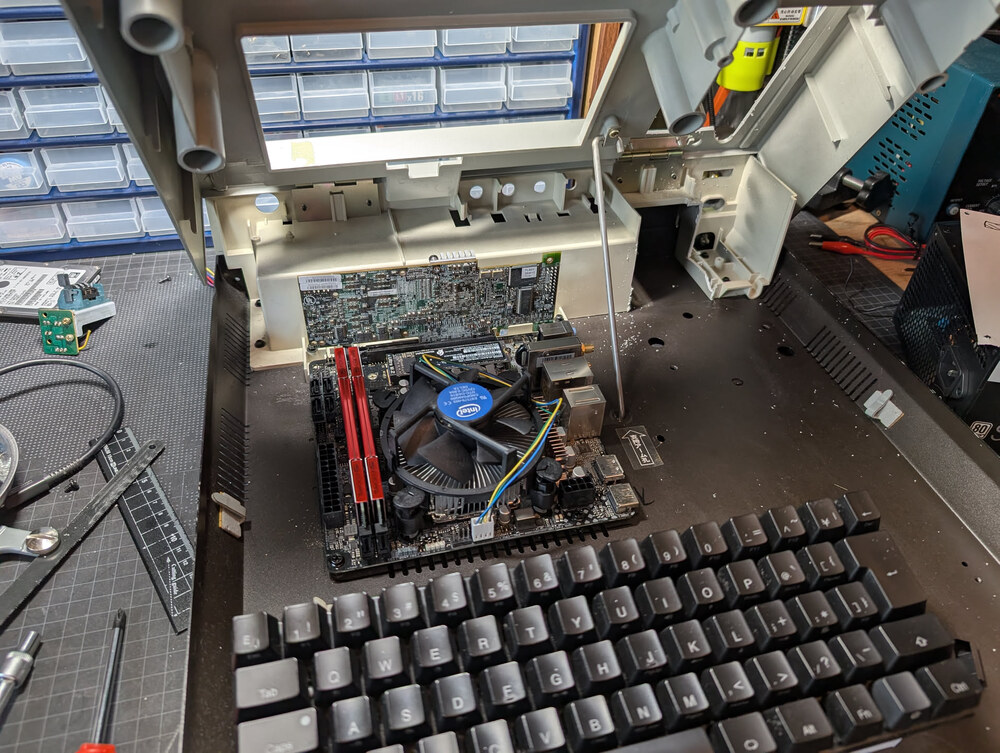
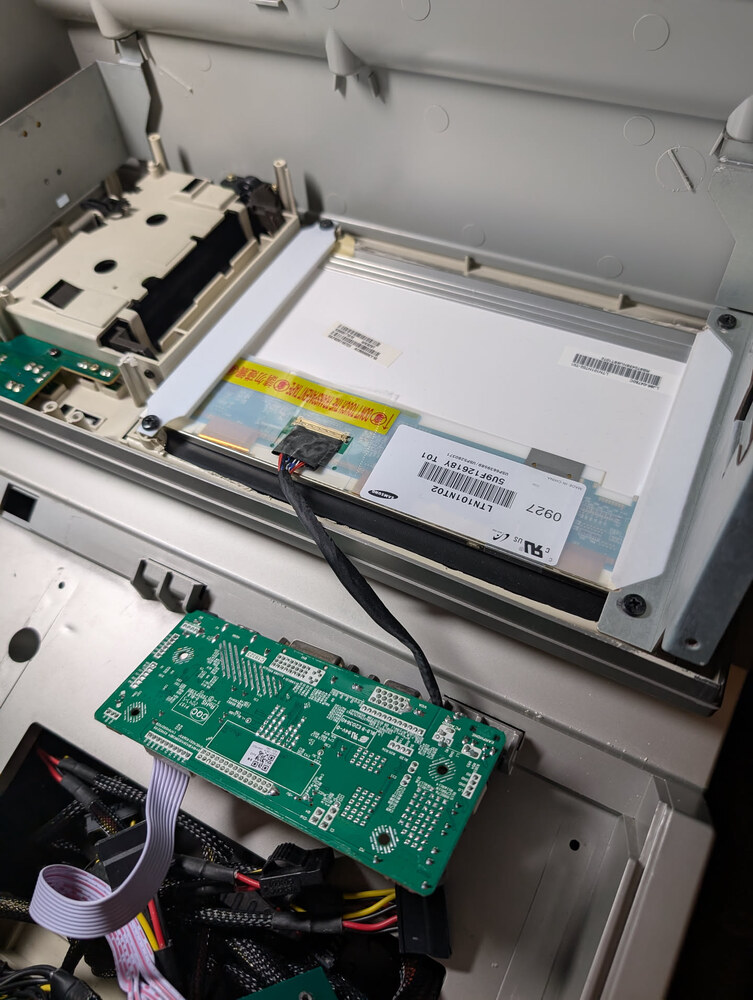
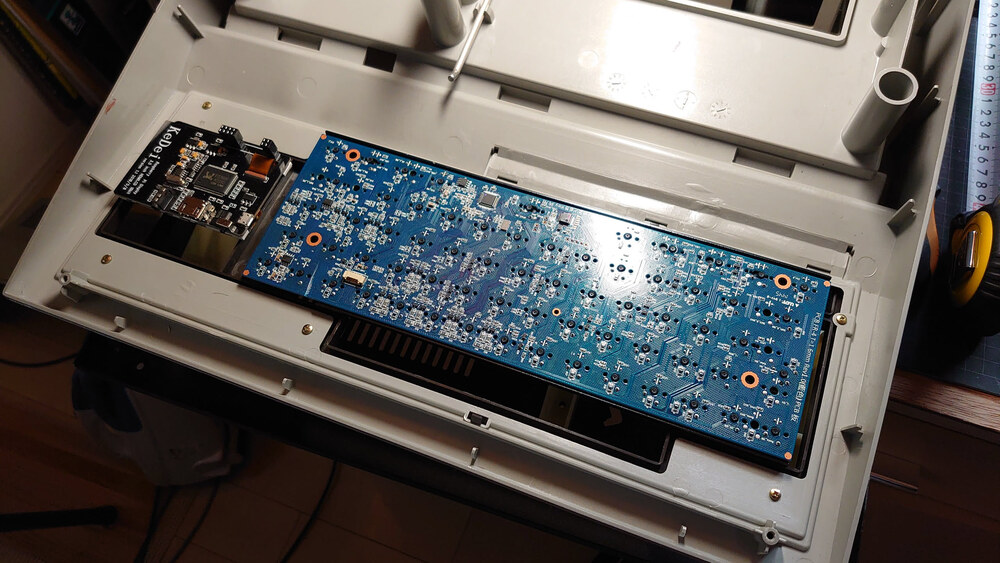
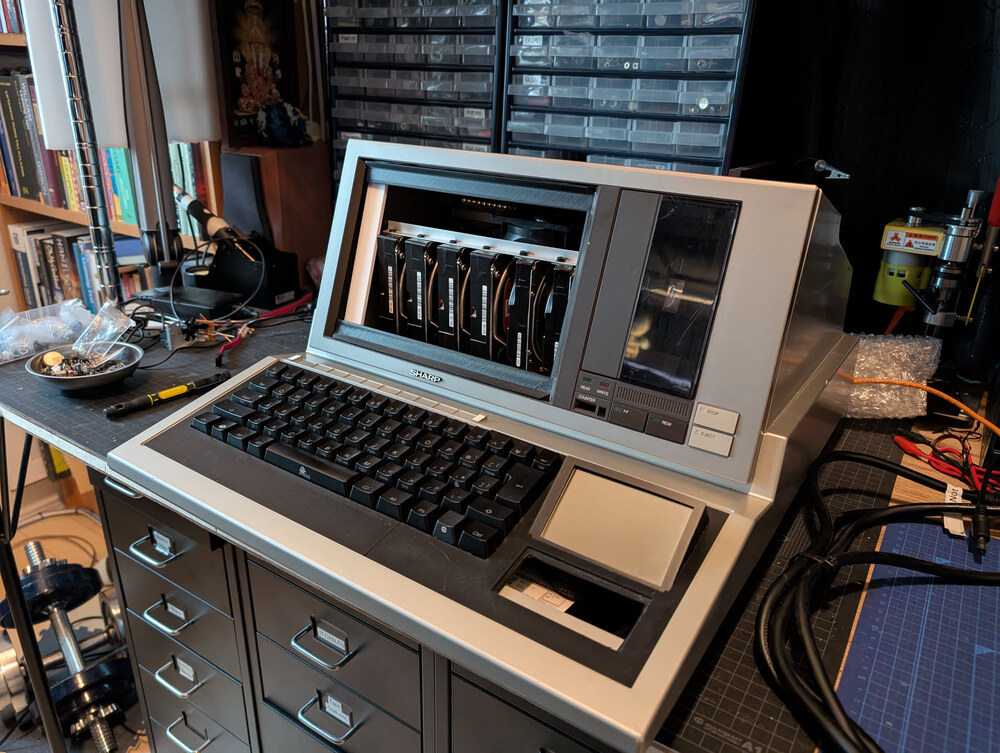
Starting with a completely gutted shell meant that all components making up a server would need to be added from scratch. Looking through my IT scrap pile, I had some recently decommissioned VMware servers that had made up the home lab during my years at AWS. From there, we could get a motherboard, memory, CPU, and some foundational storage. A fairly small but good-quality Ducky keyboard was disassembled to fit into the new 3D-printed bottom panel. A monitor was scavenged from my wife’s old laptop, as it had roughly the right dimensions to fit into the gap left by the old CRT display. A display card compatible with this type of LCD display was used to give the old LCD an HDMI interface and display controls so it could be plugged into the motherboard. I was unsure if I should bother with a mouse, as the command line would likely be enough. However, since I wanted some visualizations on the main display as well as a touch interface on the mini-monitor, I went with peeling off the old touchpad from a laptop, hooking it up to an Arduino Nano, and using it as the mouse.
- Mainboard: ASRock Intel H410M-ITX/ac I219V
- CPU: Core i5 10400
- Memory: TEAM DDR4 2666Mhz PC4-21300 (2×32)
- SAS card: LSI 9207-8i RAID controller
- Boot disk: WD Black 500Gb SSD M.2-2280 SN750
- Main file server storage drives (3.5”): 8TB x2 + 2TB x4
- VM storage (2.5”): 1.6TB SAS SSD
- Keyboard: Ducky mini
- Mouse: Asus TF-101 touch-pad
- Monitors: Toshiba laptop monitor (1280x800)
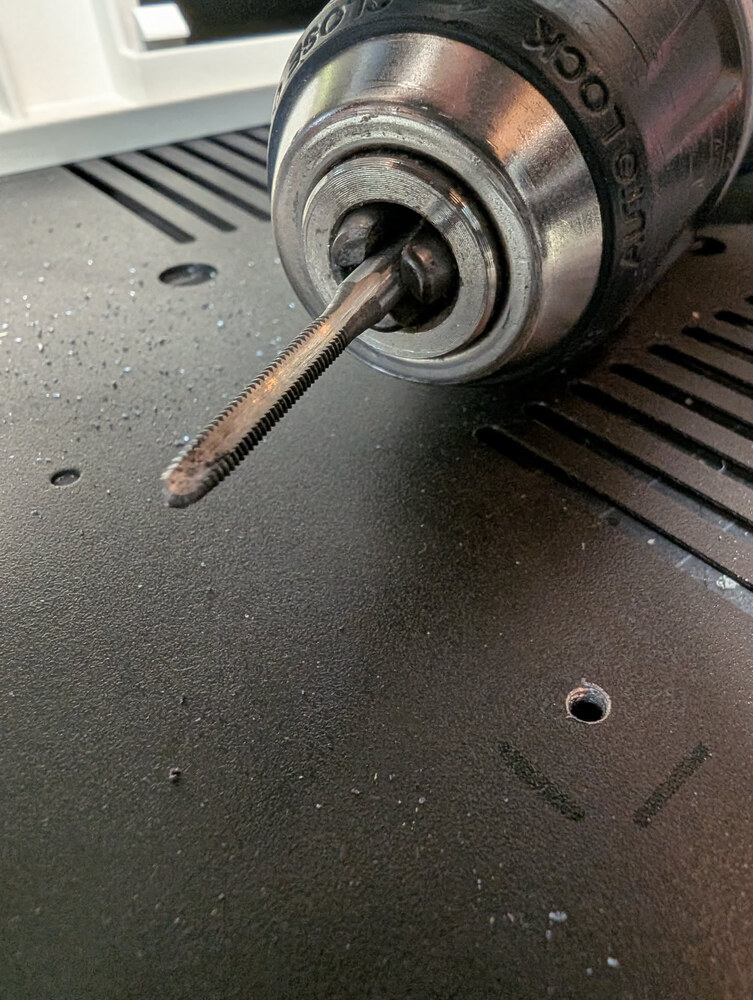
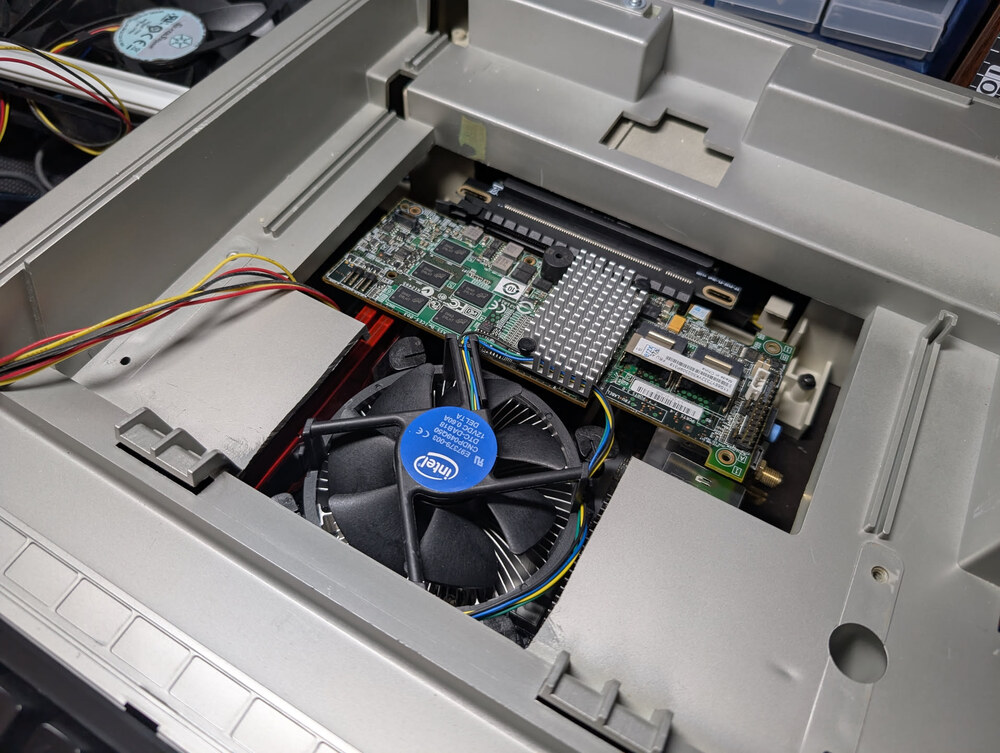
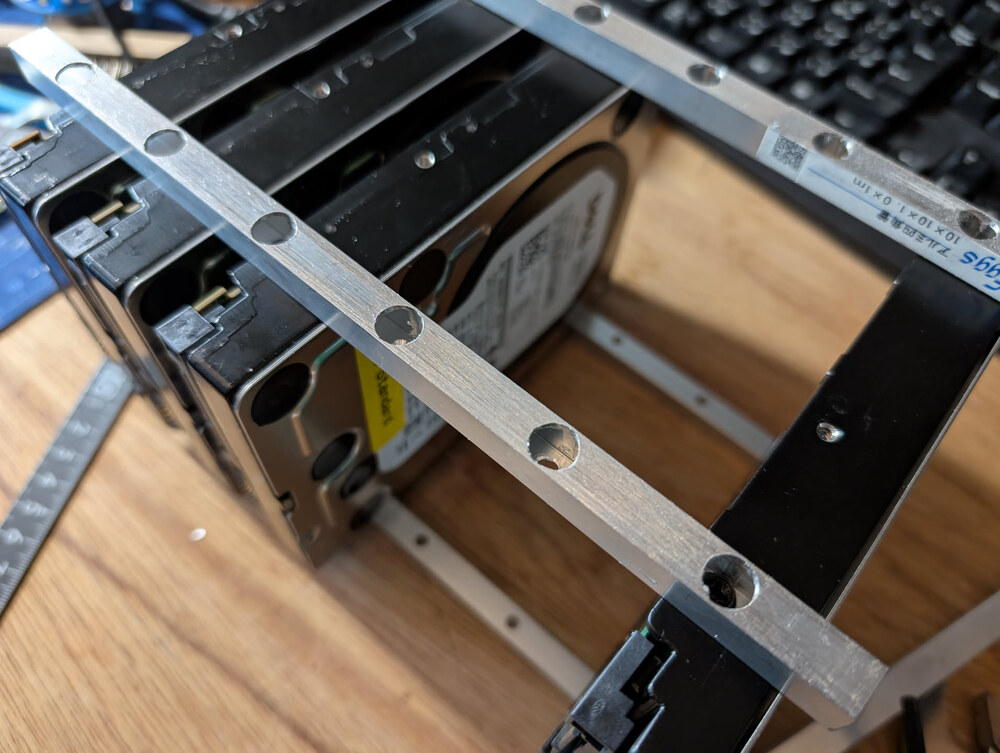
Airflow was also a major challenge since the system contains so many large drives. There was also no space to fit the PCIe SAS/SATA card as-is, so it got a PCIe riser card in between to pivot it 90 degrees, which further limited airflow. I added 120mm fans at first, but they made it impossible to seal the enclosure. After that adventure, I replaced them with three 90mm fans to drive airflow over the HDDs, the main board + SAS/SATA card, and also to push air out of the enclosure.
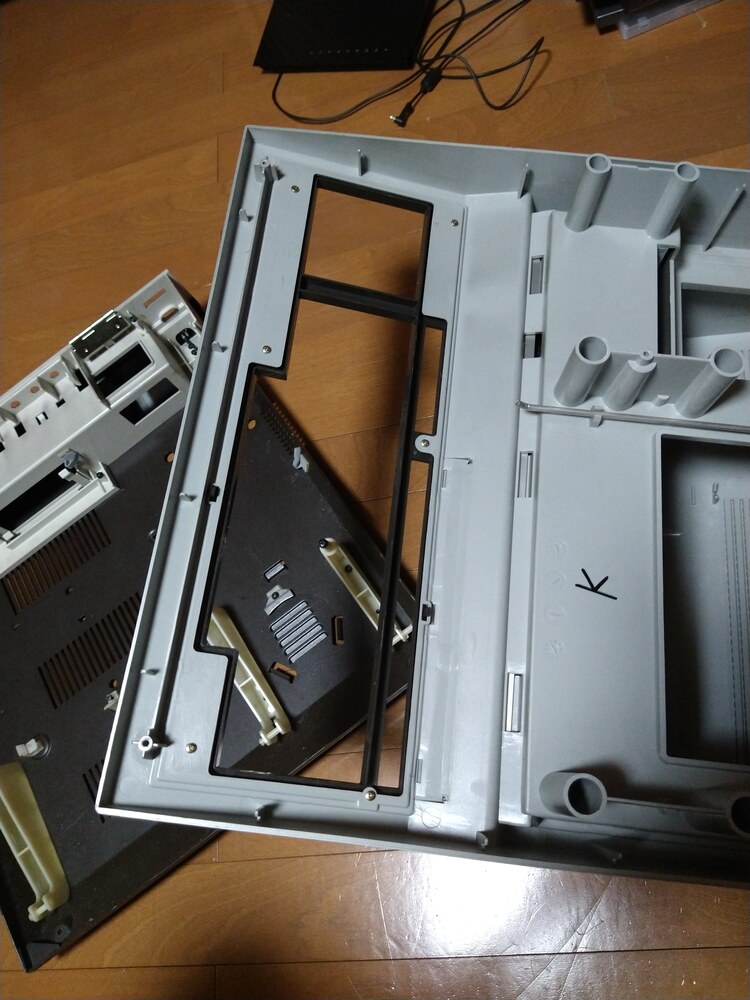
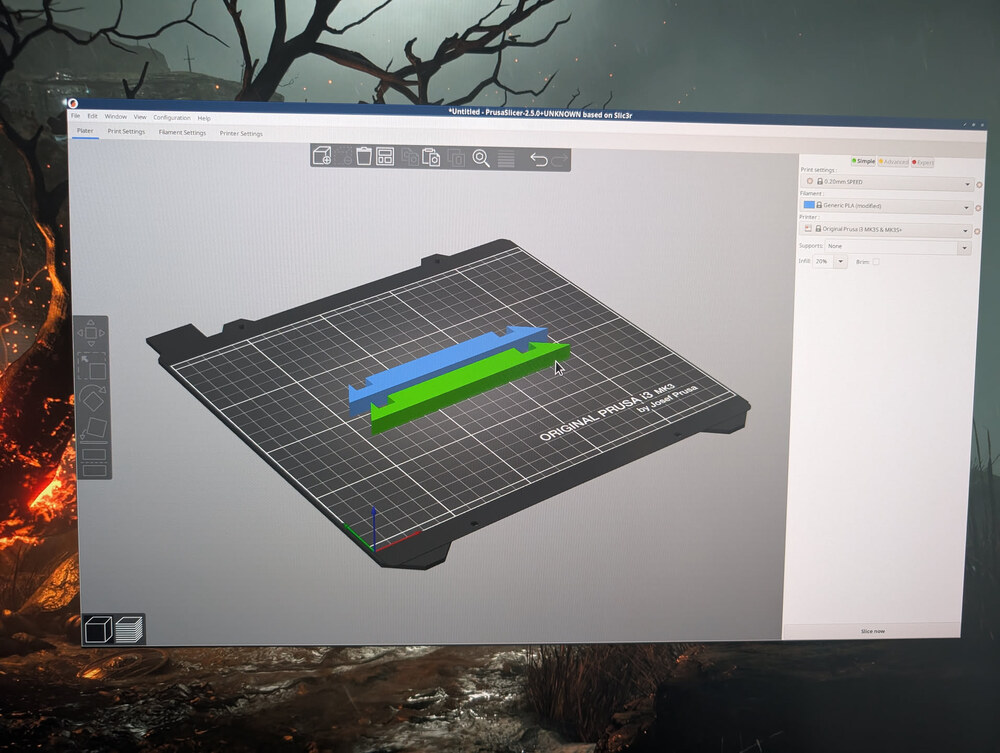
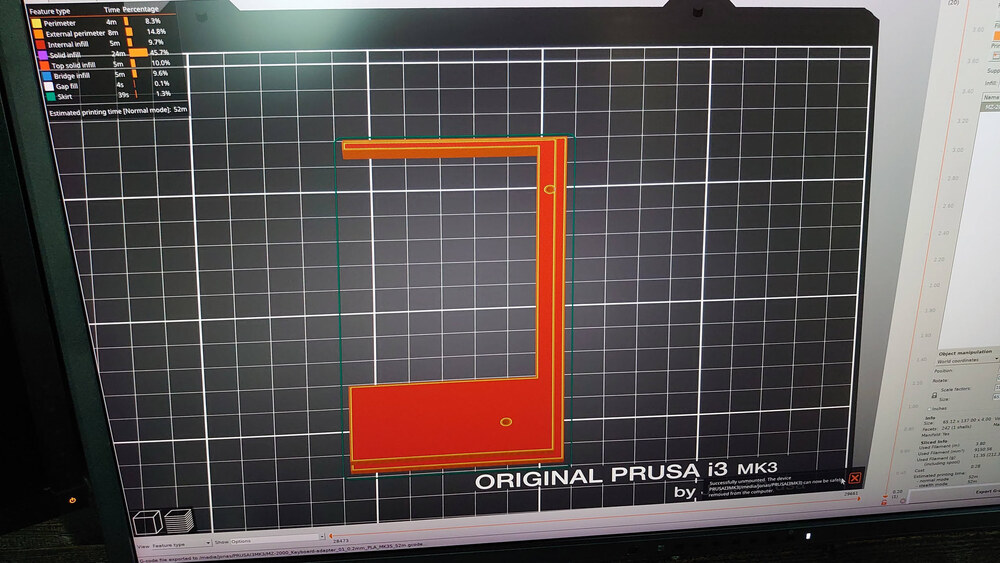
3D printing parts
The panel holding the keyboard would need to be rebuilt to fit the new requirements of a smaller keyboard, a touch display, and some sort of touch panel to use as a mouse. The monitor needed to be held in place from behind and also required a border to match the dimensions of the display to the aperture of the top part of the case in which it was going to be fitted. A new cradle for holding the HDDs was made out of square aluminum rods and held together by some 3D-printed feet. All of these parts were designed and then printed on a Prusa i3 MK3.
Software considerations
The immediate need was for a file server, but having worked with virtualization for most of my career, there was never any doubt that any file server would be running as a VM. There were many options for what to use as the virtualization layer. Being drawn to simplicity, I first favored the idea of using plain KVM and QEMU, but management would become more cumbersome that way. In the end, the following was settled upon for version 1 of the system:
- Virtualization layer: Proxmox
- File server OS: Debian
- File system type: XFS
- Container engine: LXC and Docker
Proxmox was easy enough to get going and has a lot of options for VM and storage control. XFS was used mainly for the snapshot capabilities and for how nice it is to be able to slice up a larger disk into multiple sections for backup, photo, media, etc.
Visualization
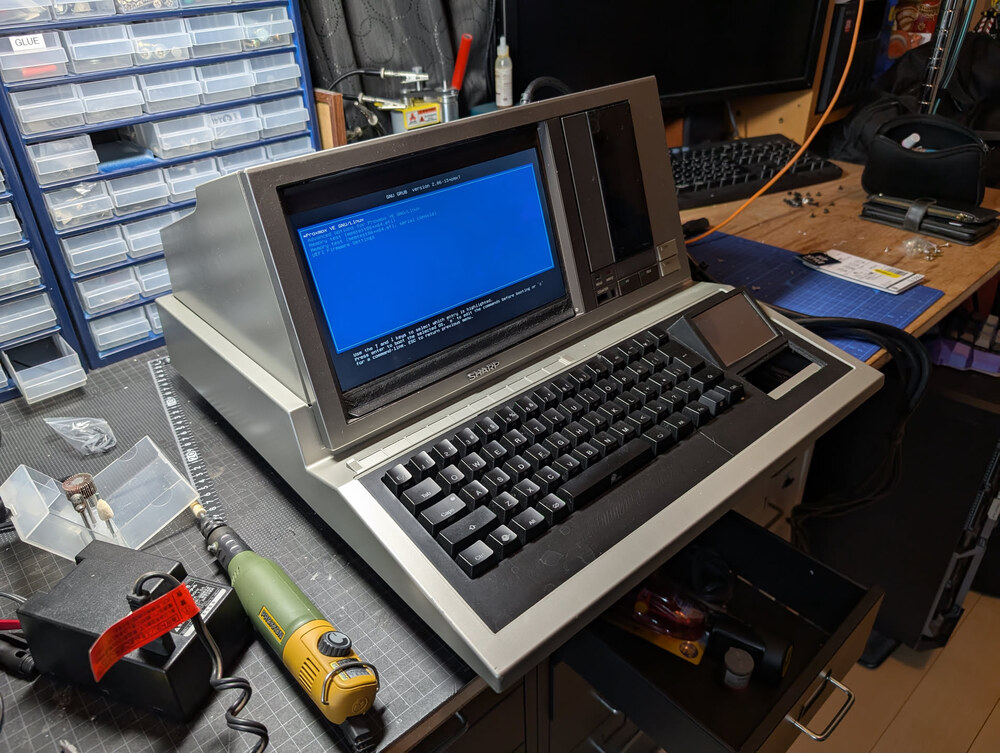
The main screen is currently just a basic login screen, but the plans are to have it show either a Grafana or other dashboard of the server statistics. For a moment, I used the very excellent Encom globe animation by Arscan, but while it looks good, it served no other purpose than being pretty. Creating a new dashboard will be part of a future upgrade.
Current project status
The server is pretty much built and functional, but several parts are still missing. The small touch monitor needs to be fastened properly, the touchpad needs to be fitted, and the USB/SD-card module needs to be added to the space previously used by the old cassette tape drive. It is a fully usable file server, though. Proxmox is installed, and currently, the only VM on it is the file server. It has received the official inauguration as the main file server, and my old QNAP has been retired.
More updates to come. If you have read all the way here - thank you and see you later (?)