Briefly filmed an octopus (common octopus / madako) at a homecenter in Tokyo, Japan recently. Would want one as a pet but they’re probably happier in the ocean.
Octopus saying hello


yet another tech blog
Briefly filmed an octopus (common octopus / madako) at a homecenter in Tokyo, Japan recently. Would want one as a pet but they’re probably happier in the ocean.

After seeing this awesome Arduino RADAR project by Dejan Nedelkovski I simply had to build one myself. It’s actually a SONAR though as it utilizes sound for detection rather than radio waves. It was a fairly quick and easy build but it requires both the Arduino sketch as well as a separate one for Processing to draw the GUI. Here it is in action:
After knocking over a full pint of beer into my Belkin ergonomic keyboard and my much loved Logitech/Logicool G13 programmable gaming keyboard I had to find a way to save them from the garbage bin.
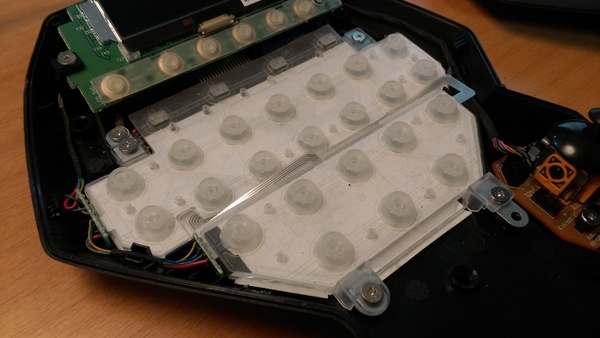
Unfortunately the Belkin was beyond repair. Pressing any of the keys would result in gibberish and washing out the beer with water didn’t improve things. The G13 however could be taken apart more easily and I was happy to see that it can be separated into two parts which makes the keys very easy to clean off without affecting the underlying circuit boards.
Note that although the G13 had most of the keys fused together by the dried beer it still seemed to function better than the Belkin keyboard. The underlying circuit boards appeared undamaged or unaffected.
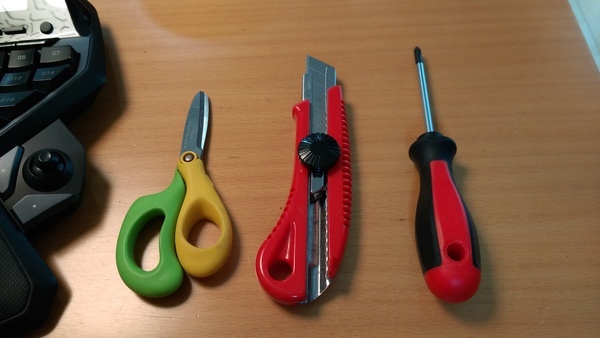
If you want to try this, start off with a few tools. I used a razor-knife and a small pair of scissors as well as a Phillips screwdriver. You’ll also need a sponge, dish washing liquid and a hair dryer.
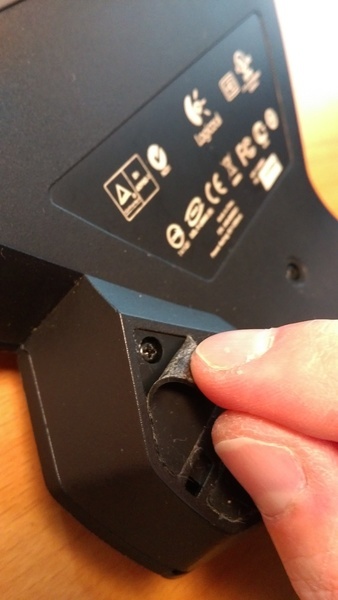
Carefully peal off the protective rubber feet so they don’t break. The scissors were useful here as the razor knife risk cutting the feet while removing them. They don’t have to come all the way off but I removed them anyway to get full access to the screws underneath.
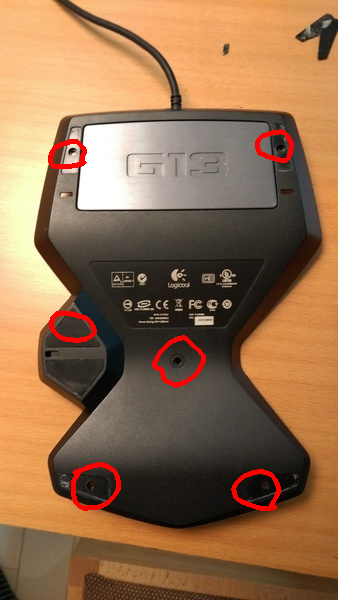
There are six screws that need to be removed in total and each is hidden behind a rubber foot or, as is the case with the middle one, a thin plastic seal. Once the rubber covers are removed, unscrew the six screws which hold the keyboard together:
Once the screws are removed, use the razor knife to gently split the keyboard apart at the seams. I started at the joystick side, worked my way down and around from there. Finally the upper part could also be loosened although the dried beer held it together fairly well.
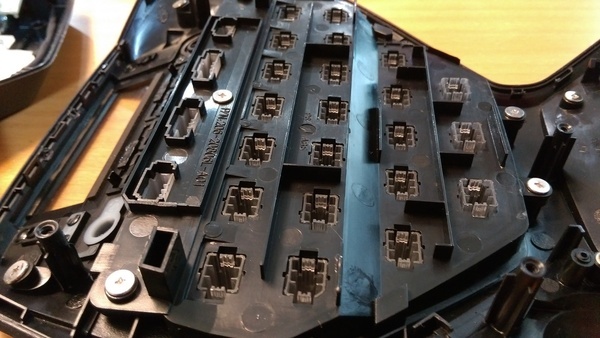
After the key part has been removed from the base it’ll look like this:
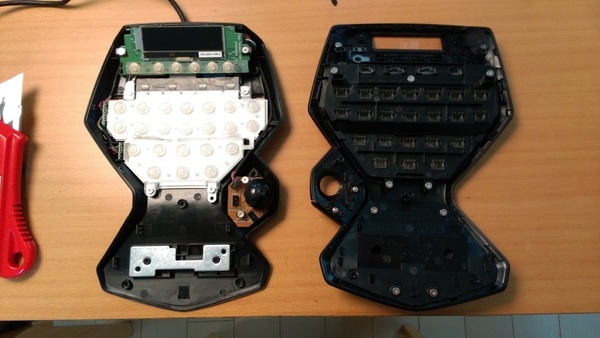
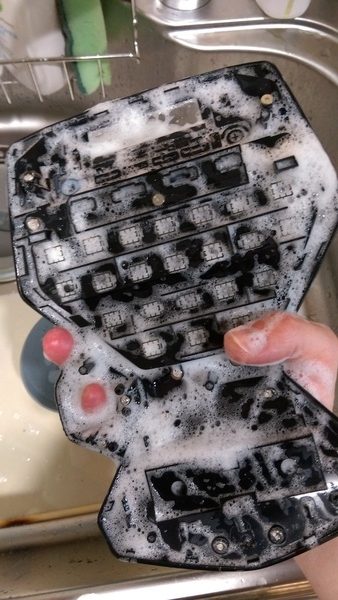
Now the upper part with the keys can be washed with dishwashing liquid and a sponge to remove the beer / sugar / etc depending on what was spilled into it in the first place.
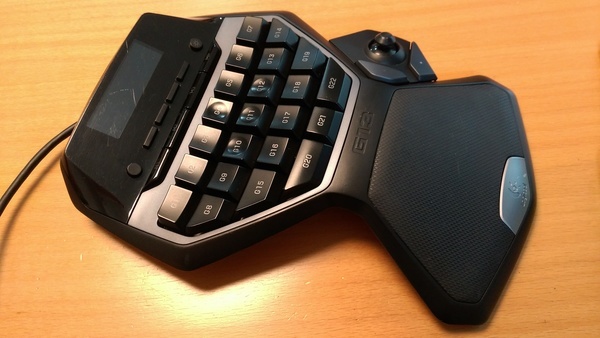
Rinse and dry thoroughly with a hairdryer to ensure there is no water left between the keys. After that it’s just a matter to snap the key section back on top of the base, screw in the screws and finally add the rubber covers / feet to the bottom of the keyboard. After the procedure the keyboard is good as new and works just fine when connected to the PC again.
..but doesn’t seem too impressed 🙂
A pepper robot has yet to be turned on at the MS de:code event in Prince Hotel Tokyo.
Showcasing the Dell-MS Hybrid cloud platform today and tomorrow.


OMG this is awesome. Only a few hours left until release. This trailer kind of reminds me of The Army of Darkness 🙂