Power control of VMs on ESXi using a script on the command line

Automating VM power control over the command line can be very useful. Especially to simplify test scenarios when tens or hundreds of VM’s are used. A couple of simple examples below.

Unfortunately the commands for powering on and off are completely different. This means we have two separate scripts for each task:

Powering on:
List all VM’s so we can find the ones we want:

Grep for the ones we are interested in:

Print only their IDs:

Because we’re pedantic – sort them in correct order – just in case:

Run a loop to power them on:

Powering off:
List all the processes:
By default esxcli lists the information on separate lines which makes scripting close to impossible. Therefore we use the –formatter option to list the output in CSV format.

To enable AWK we replace spaces with % (for example) and commas with spaces:

Grep for the VMs we want to power off:

Print only the world-id’s:

Run it in a loop:

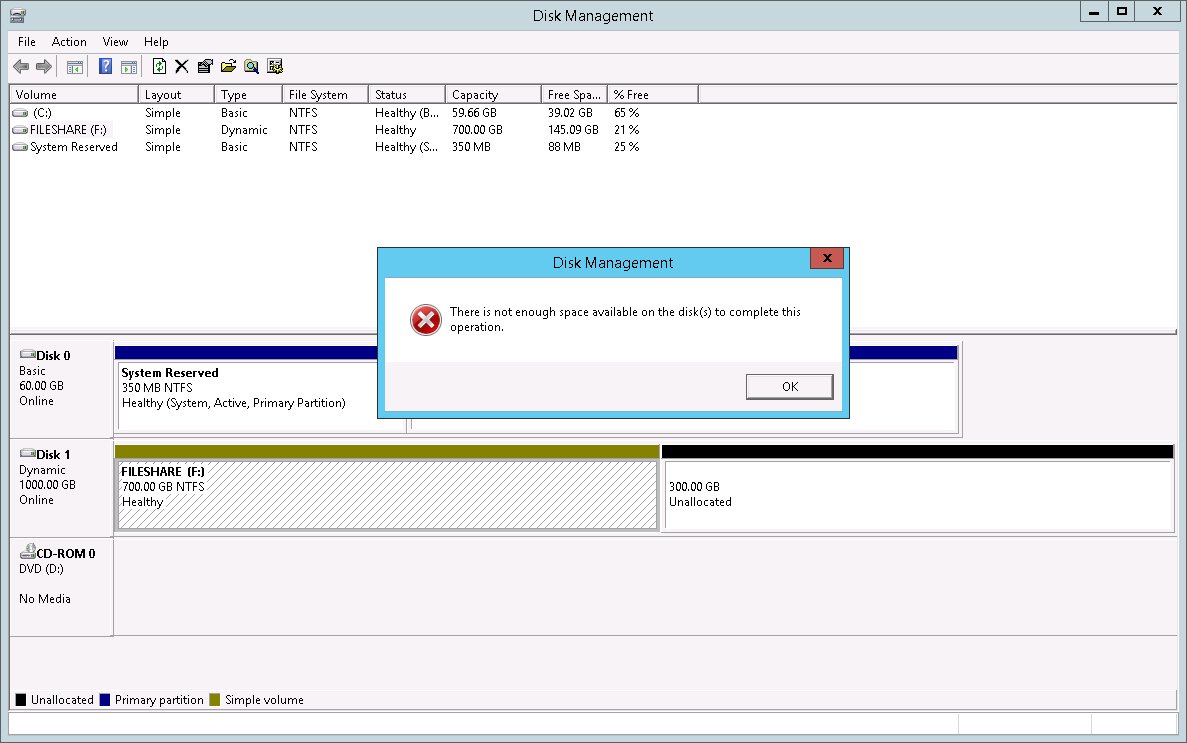
Windows 2012R2 – Extend disk: “There is not enough space available on the disk(s) to complete this operation.”

I needed to extend the main storage of my fileserver this morning. While VMware happily extended the storage volume for the VM when I asked it to, Windows 2012 R2 was not so helpful. Luckily this is easily fixed.

In Disk Manager (diskmgmt.msc) make sure the disk to be extended is set to be “Dynamic”. If it is, simply Re-scan the disks. Now it can be extended just fine. Screenshots below:

Error when extending disk:

Windows-2012R2-disk-extension-01

Rescan disks:

Windows-2012R2-disk-extension-02

Disk extended to use the extra space:

Windows-2012R2-disk-extension-03

How to SSH using a public key instead of password

When accessing remote systems using SSH it can be handy to use RSA keys rather than having to enter a password every time. Especially handy if doing automation using Ansible or similar tools. Here’s how to do it:

Generate the key pair
One public and one private key will be created. The private key is kept securely on the client system. The public key is copied to the target server. The passphrase is optional. It helps secure they key if the private key is compromised. In this example we skip entering a passphrase.

Copy the key to the remote system
We now copy over the public key to the remote system. Note that we need to enter the password to get the key copied. This is what we’re trying to fix. Note that we copy the .pub public key to a new name: “authorized_keys” in the .ssh directory for your user on the remote system. For example “/home/jonas/.ssh/authorized_keys”.

Verify the solution
Repeat the SCP command but this time copy the public key to a random name to verify that SSH/SCP can be done without entering a password:

…and with Ansible
Below we finally compare pinging a host with RSA key auth enabled vs. server with password login only. Predictably one succeeds and one fails.

View, Create, Delete virtual RAID volumes with RACADM on an FC630 server (Dell 13G)

SSH to the iDRAC of the machine:

Enter RACADM:

Check for existing RAID volumes:

Check ID:s of the physical disks and the controller:

Create the RAID volume:
In this case RAID6 with read-ahead and write-back switched on

Schedule the job (Note: Also see altenative method below):

Execute the job by powercycling the server:

ALTERNATIVE: Schedule the job without reboot:

If the RAID controller supports realtime execution, the virtual disk can be created without the need to reboot. To do this, add “–realtime” after the job creation command as follows:

Verify RAID volume creation after job has completed:

View, Create, Delete virtual RAID volumes with RACADM on an R720 server (Dell 12G)

Background
Yesterday I needed to setup an R720 remotely and it needed a new RAID volume created. The issue was that rather than the normal Enterprise license the server had an iDRAC Express license (no remote console) so it wasn’t possible to use the normal UEFI / BIOS wizard to create the disks. Luckily a GUI isn’t required and the disks can be created quite happily with RACADM.

Local and remote
RACADM can be used locally on the server and remotely. In the examples below all commands are done from a remote workstation across the network. It is also possible to SSH to the iDRAC and execute the commands from there (or from the server OS itself it it’s already setup).

Check the presence of virtual disks by using:

In the below case the machine doesn’t have any virtual volumes yet:

If the machine had a virtual disk defined we’d see the below:

To delete an existing virtual disk:

Then schedule the job:

Reboot server to execute job:

Check the status of the job:

To view all jobs (results in a list of jobs and their status):

To create a virtual disk / volume
Help will show:

So we need the FQDD of the Controller and also the list of FQDD:s for our physical disks.

Checking our controller FQDD:

Checking our physical disks FQDD:

Example of creating the virtual disk with RAID0, write-through and no read-ahead (YES, IT’S ALL ONE LINE):

Example of creating the virtual disk with RAID0, write-back cache and read-ahead enabled (YES, IT’S ALL ONE LINE):

Schedule the job:

Restart to execute the job:

View the virtual disk once created: