It’s extremely quick to get started with EdgeX Foundry. Less than 5 minutes – including installing Docker and Docker-compose (provided you have a reasonable internet connection).
Note: This is for the Edinburgh 1.01 release. Other releases can be downloaded from here: link
For the impatient: All required commands: link

Install docker-ce
vagrant@EdgeXblog:~$ sudo apt update
 Get:1 http://security.ubuntu.com/ubuntu bionic-security InRelease [88.7 kB]
 Hit:2 http://archive.ubuntu.com/ubuntu bionic InRelease
 Get:3 http://archive.ubuntu.com/ubuntu bionic-updates InRelease [88.7 kB]
 Get:4 http://security.ubuntu.com/ubuntu bionic-security/main i386 Packages [380 kB]
 Get:5 http://archive.ubuntu.com/ubuntu bionic-backports InRelease [74.6 kB]
....
vagrant@EdgeXblog:~$ sudo apt install apt-transport-https ca-certificates curl software-properties-common
 Reading package lists… Done
 Building dependency tree
 Reading state information… Done
 ca-certificates is already the newest version (20180409).
...
vagrant@EdgeXblog:~$ curl -fsSL https://download.docker.com/linux/ubuntu/gpg | sudo apt-key add -
OK
vagrant@EdgeXblog:~$ sudo add-apt-repository "deb [arch=amd64] https://download.docker.com/linux/ubuntu bionic stable"
 Get:1 https://download.docker.com/linux/ubuntu bionic InRelease [64.4 kB]
 Get:2 https://download.docker.com/linux/ubuntu bionic/stable amd64 Packages [8,880 B]
 Hit:3 http://archive.ubuntu.com/ubuntu bionic InRelease
 Hit:4 http://security.ubuntu.com/ubuntu bionic-security InRelease
 Hit:5 http://archive.ubuntu.com/ubuntu bionic-updates InRelease
...
vagrant@EdgeXblog:~$ sudo apt update
 Hit:1 https://download.docker.com/linux/ubuntu bionic InRelease
 Hit:2 http://security.ubuntu.com/ubuntu bionic-security InRelease
 Hit:3 http://archive.ubuntu.com/ubuntu bionic InRelease
...
vagrant@EdgeXblog:~$ sudo apt install docker-ce
 Reading package lists… Done
 Building dependency tree
 Reading state information… Done
 The following additional packages will be installed:
...
vagrant@EdgeXblog:~$ sudo usermod -aG docker ${USER}
Download and install docker-compose
vagrant@EdgeXblog:~$ sudo curl -L "https://github.com/docker/compose/releases/download/1.24.1/docker-compose-$(uname -s)-$(uname -m)" -o /usr/local/bin/docker-compose
   % Total    % Received % Xferd  Average Speed   Time    Time     Time  Current
                                  Dload  Upload   Total   Spent    Left  Speed
 100   617    0   617    0     0   1804      0 --:--:-- --:--:-- --:--:--  1804
 100 15.4M  100 15.4M    0     0  4251k      0  0:00:03  0:00:03 --:--:-- 5278k
vagrant@EdgeXblog:~$ sudo chmod 755 /usr/local/bin/docker-compose
Download the EdgeX Foundry docker-compose.yml file
This is for the Edinburgh release, version 1.0.1. Others, including older releases, can be found here: link
vagrant@EdgeXblog:~$ wget https://raw.githubusercontent.com/edgexfoundry/developer-scripts/master/releases/edinburgh/compose-files/docker-compose-edinburgh-no-secty-1.0.1.yml
 --2019-10-11 08:46:28--  https://raw.githubusercontent.com/edgexfoundry/developer-scripts/master/releases/edinburgh/compose-files/docker-compose-edinburgh-no-secty-1.0.1.yml
 Resolving raw.githubusercontent.com (raw.githubusercontent.com)… 151.101.108.133
 Connecting to raw.githubusercontent.com (raw.githubusercontent.com)|151.101.108.133|:443… connected.
vagrant@EdgeXblog:~$ cp docker-compose-edinburgh-no-secty-1.0.1.yml docker-compose.yml
Pull the docker images from docker hub
vagrant@EdgeXblog:~$ sudo docker-compose pull
 Pulling volume         … done
 Pulling consul         … done
 Pulling config-seed    … done
 Pulling mongo          … done
 Pulling logging        … done
 Pulling system         … done
 Pulling notifications  … done
 Pulling metadata       … done
 Pulling data           … done
 Pulling command        … done
 Pulling scheduler      … done
 Pulling export-client  … done
 Pulling export-distro  … done
 Pulling rulesengine    … done
 Pulling device-virtual … done
 Pulling ui             … done
 Pulling portainer      … done
Start EdgeX Foundry
vagrant@EdgeXblog:~$ sudo docker-compose up -d
 Creating network "vagrant_edgex-network" with driver "bridge"
 Creating network "vagrant_default" with the default driver
 Creating volume "vagrant_db-data" with default driver
 Creating volume "vagrant_log-data" with default driver
 Creating volume "vagrant_consul-config" with default driver
 Creating volume "vagrant_consul-data" with default driver
...
List containers and ports
vagrant@EdgeXblog:~$ sudo docker-compose ps
            Name                          Command               State                                 Ports
 edgex-config-seed             /edgex/cmd/config-seed/con …   Exit 0
 edgex-core-command            /core-command --registry - …   Up       0.0.0.0:48082->48082/tcp
 edgex-core-consul             docker-entrypoint.sh agent …   Up       8300/tcp, 8301/tcp, 8301/udp, 8302/tcp, 8302/udp,
                                                                         0.0.0.0:8400->8400/tcp, 0.0.0.0:8500->8500/tcp,
                                                                         0.0.0.0:8600->8600/tcp, 8600/udp
 edgex-core-data               /core-data --registry --pr …   Up       0.0.0.0:48080->48080/tcp, 0.0.0.0:5563->5563/tcp
 edgex-core-metadata           /core-metadata --registry  …   Up       0.0.0.0:48081->48081/tcp, 48082/tcp
 edgex-device-virtual          /device-virtual --profile= …   Up       0.0.0.0:49990->49990/tcp
 edgex-export-client           /export-client --registry  …   Up       0.0.0.0:48071->48071/tcp
 edgex-export-distro           /export-distro --registry  …   Up       0.0.0.0:48070->48070/tcp, 0.0.0.0:5566->5566/tcp
 edgex-files                   /bin/sh -c /usr/bin/tail - …   Up
 edgex-mongo                   docker-entrypoint.sh /bin/ …   Up       0.0.0.0:27017->27017/tcp
 edgex-support-logging         /support-logging --registr …   Up       0.0.0.0:48061->48061/tcp
 edgex-support-notifications   /support-notifications --r …   Up       0.0.0.0:48060->48060/tcp
 edgex-support-rulesengine     /bin/sh -c java -jar -Djav …   Up       0.0.0.0:48075->48075/tcp
 edgex-support-scheduler       /support-scheduler --regis …   Up       0.0.0.0:48085->48085/tcp
 edgex-sys-mgmt-agent          /sys-mgmt-agent --registry …   Up       0.0.0.0:48090->48090/tcp
 edgex-ui-go                   ./edgex-ui-server                Up       0.0.0.0:4000->4000/tcp
 vagrant_portainer_1           /portainer -H unix:///var/ …   Up       0.0.0.0:9000->9000/tcp
Access EdgeX Foundry
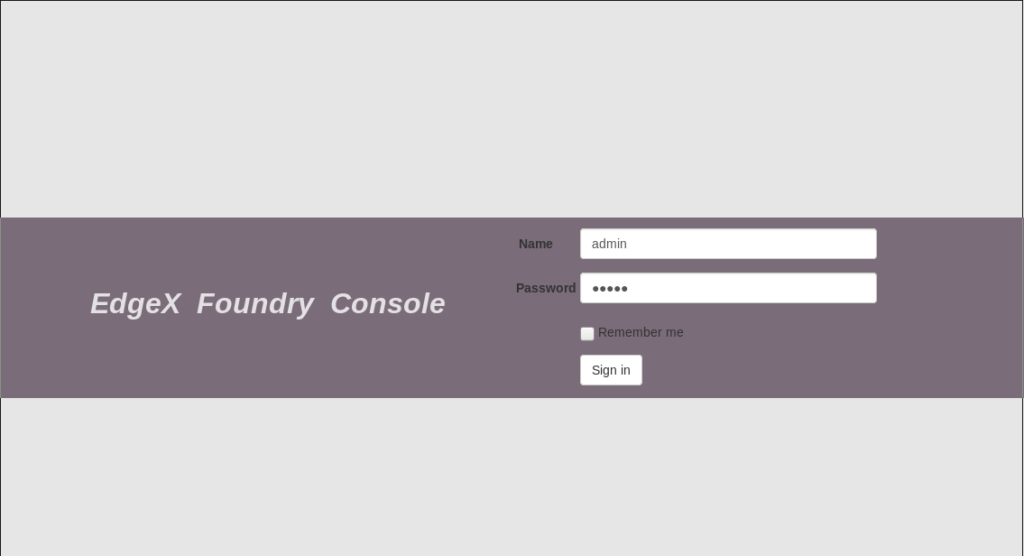
Either access directly via the API’s or use the console on port 4000: “http://<ubuntu ip>:4000”.
- Username: “admin”
- Password: “admin”

Shut down EdgeX Foundry
Not that you would ever want to, but just in case: Stopping EdgeX Foundry containers can be done as per the below. Make sure the command is executed in the same directory as the “docker-compose.yml” file is located in.
vagrant@EdgeXblog:~$ sudo docker-compose stop
 Stopping edgex-device-virtual        … done
 Stopping edgex-ui-go                 … done
 Stopping edgex-support-rulesengine   …
 Stopping edgex-export-distro         …
 Stopping edgex-support-scheduler     …
 Stopping edgex-core-command          …


