New iDRAC Ansible module: Version 1.1 released

The recently released version 1.1 adds streaming Server Configuration File (SCP) support, enhanced RAID creation and many other goodies! See the release notes here for details: Dell EMC Ansible modules version 1.1

Below are some installation instructions (in particular for those who have been using the original Ansible modules).

System used:
CentOS 7.5

Get the new Ansible modules for iDRAC off Github:

Get the Dell EMC OpenManage Python SDK off Github:

Remove some packages or we will run into errors during the SDK install:
NOTE: This will uninstall Ansible. Backup your /etc/ansible/hosts file prior to Ansible removal!

Install the Dell EMC OpenManage Python SDK prerequisites:

Reinstall Ansible:

Install wheel:

Build .whl file:

Install the newly built module:

Install the new Dell EMC Ansible modules for iDRAC:

All done! The new Ansible modules are installed.

Modifying /etc/ansible/hosts:
The previous version of the Dell EMC Ansible modules for iDRAC required the following format:

The new modules require some different variables:
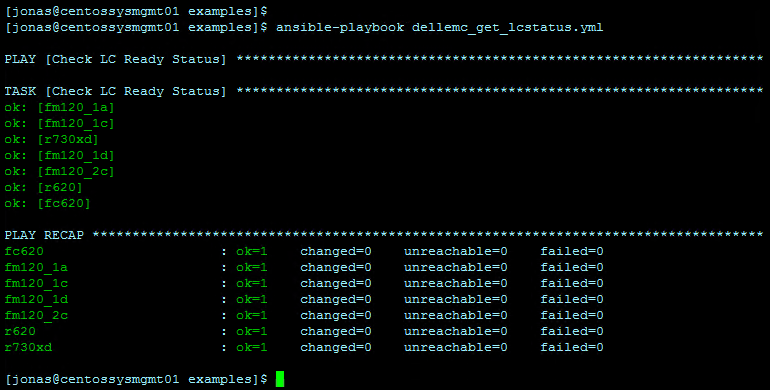
Trying it out:

Working perfectly 🙂

Arduino powered LED sign

Using an Arduino UNO and 8 strips of Neopixel ws2812 strips (60 LED/m) I was able to recreate the awesome LED sign created by Josh here: https://youtu.be/k-SYMPO8-f8

Needed some text to test it and picked the cf push haiku by Onsi Fakhouri:

cf push haiku here is my source code run it on the cloud for me i do not care how”


Expanded sources.list for Ubuntu server 18.04

By default, if the new installer is utilized when deploying Ubuntu server 18.04, the /etc/apt/sources.list will contain only two entries. This doesn’t cover much, so to expand it to be a bit more useful we replace it with:

deb http://jp.archive.ubuntu.com/ubuntu/ bionic main restricted
deb http://jp.archive.ubuntu.com/ubuntu/ bionic-updates main restricted
deb http://jp.archive.ubuntu.com/ubuntu/ bionic universe
deb http://jp.archive.ubuntu.com/ubuntu/ bionic-updates universe
deb http://jp.archive.ubuntu.com/ubuntu/ bionic multiverse
deb http://jp.archive.ubuntu.com/ubuntu/ bionic-updates multiverse
deb http://jp.archive.ubuntu.com/ubuntu/ bionic-backports main restricted universe multiverse
deb http://security.ubuntu.com/ubuntu bionic-security main restricted
deb http://security.ubuntu.com/ubuntu bionic-security universe
deb http://security.ubuntu.com/ubuntu bionic-security multiverse

Note that this is for Japan (“jp”). Change this to “us” or similar to match your region if not in Japan.

Set network settings with netplan

If your system is using netplan for network configuration, change settings in “/etc/netplan/50-cloud-init.yaml”:

DHCP:

jonas@kube-c1-n3:~$ cat /etc/netplan/50-cloud-init.yaml
network:
    ethernets:
        enp0s3:
            addresses: []
            dhcp4: true
    version: 2
jonas@kube-c1-n3:~$ sudo netplan apply

Static IP:
jonas@kube-c1-n3:~$ cat /etc/netplan/50-cloud-init.yaml
network:
    ethernets:
        enp0s3:
            addresses: [192.168.10.103/24]
            gateway4: 192.168.10.1
            dhcp4: no
    version: 2
jonas@kube-c1-n3:~$ sudo netplan apply

Note that “gateway4” should only be set for the default route interface.

Atom editor window appearing outside of screen boundaries

If one disconnects an external monitor / projector the Atom editor window has a tendency to show up outside of the screen boundaries – just as if the external monitor was still attached. It took a while to figure out how to get it back again:

  1. Select the Atom window (using Alt-Tab or mouse)
  2. Open the context menu with Alt-Space
  3. Select move using “m”
  4. Press any of the arrow keys
  5. The Atom window will now be possible to drag back to the main monitor using the mouse

This was mentioned in a GitHub thread here: https://github.com/atom/atom/issues/6939