Windows 2012R2 – Extend disk: “There is not enough space available on the disk(s) to complete this operation.”

I needed to extend the main storage of my fileserver this morning. While VMware happily extended the storage volume for the VM when I asked it to, Windows 2012 R2 was not so helpful. Luckily this is easily fixed.

In Disk Manager (diskmgmt.msc) make sure the disk to be extended is set to be “Dynamic”. If it is, simply Re-scan the disks. Now it can be extended just fine. Screenshots below:

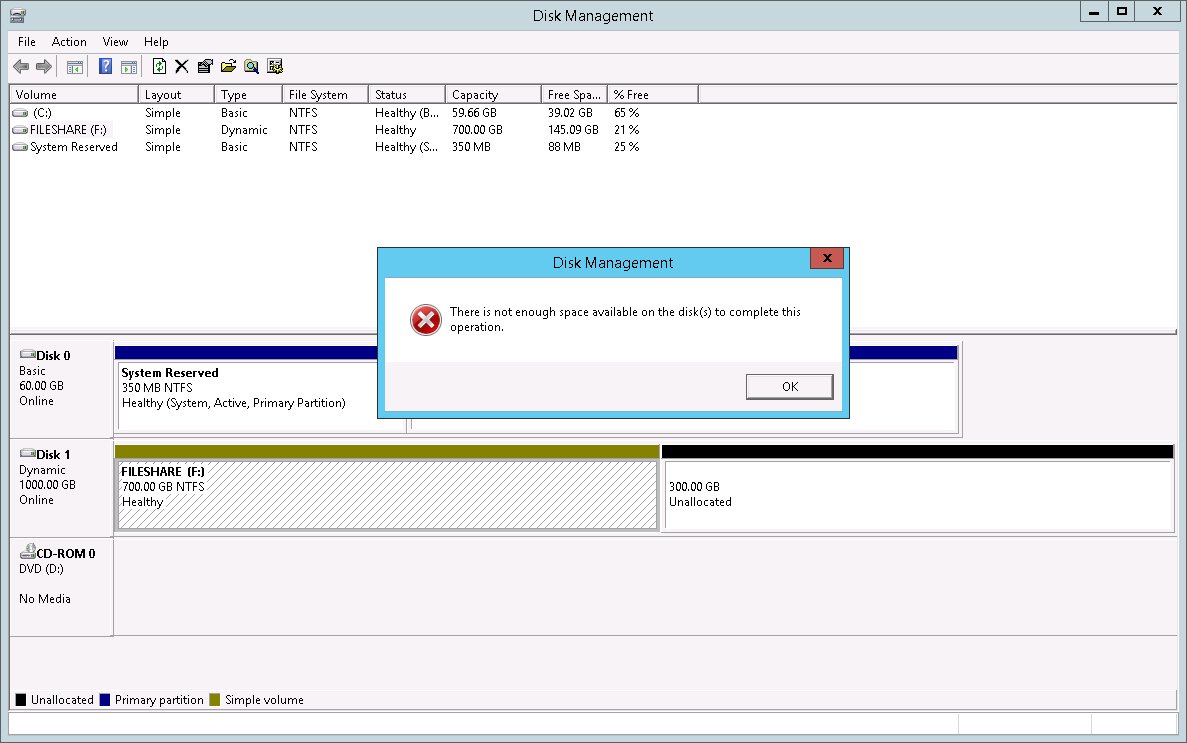
Error when extending disk:
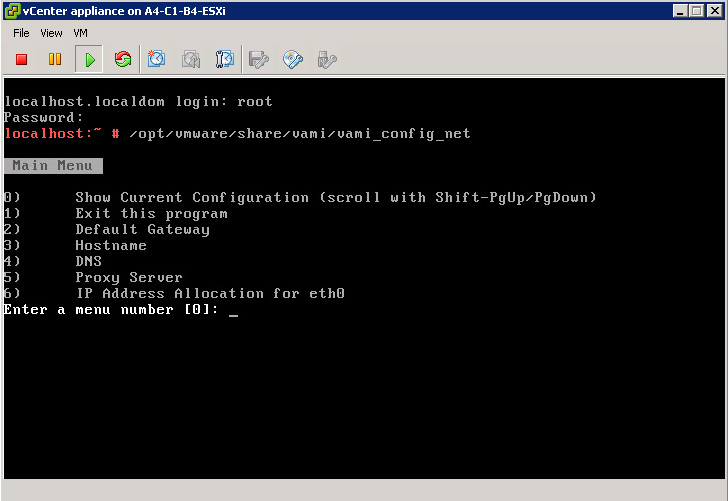
Windows-2012R2-disk-extension-01

Rescan disks:

Windows-2012R2-disk-extension-02

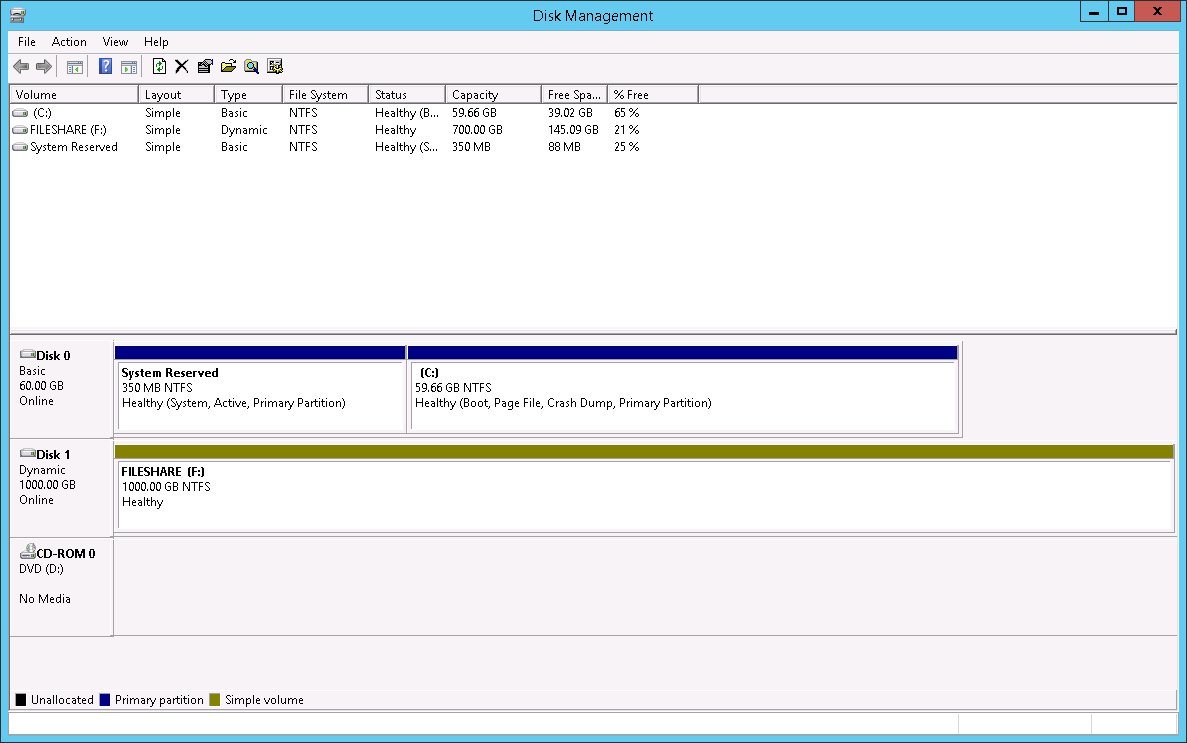
Disk extended to use the extra space:

Windows-2012R2-disk-extension-03

VMware default user names / logins and passwords

Consistency in user names and passwords would be nice, but unfortunately that isn’t always the case. While setting up VMware’s vCenter, vCOPS and vShield recently I came across a few default logins / passwords worth jotting down for reference:

VMware vCenter Operations Manager: UI VM console login

Admin account: admin

Password: admin

root account: root

Password: vmware

VMware vCenter Operations Manager: Web GUI login

User: admin

Password: admin


VMware vCenter appliance login (same for both local console and Web GUI):

User: root

Password: vmware


vCenter appliance URL for initial access and configuration

https://[vCenter IP]:5480


vCenter appliance URL for normal web access (the web client: alternative to using the vSphere client)

https://[vCenter IP]:9443


vShield Manager console:

User: admin

Password: default


How to enable NTP on the vCenter appliance

VMware vCenter Server Appliance 5.1.0.10200 Build 1235310
root@10.10.10.10’s password:
Last login: Mon Oct  7 17:18:29 2013 from vrtx-vcenter
vrtx-vcenter:~ # yast2 ntp-client add server=210.173.160.27

Error:
Cannot update the dynamic configuration policy.

vrtx-vcenter:~ # ls -l /etc/resolv.conf*
-rw-r–r– 1 root root  22 Oct  8  2013 /etc/resolv.conf
-rw-r–r– 1 root root 795 Oct  7 17:35 /etc/resolv.conf.netconfig
vrtx-vcenter:~ # cp -p /etc/resolv.conf /etc/resolv.conf.orig
vrtx-vcenter:~ # !ls
ls -l /etc/resolv.conf*
-rw-r–r– 1 root root  22 Oct  8  2013 /etc/resolv.conf
-rw-r–r– 1 root root 795 Oct  7 17:35 /etc/resolv.conf.netconfig
-rw-r–r– 1 root root  22 Oct  8  2013 /etc/resolv.conf.orig
vrtx-vcenter:~ # cat /etc/resolv.conf.netconfig > /etc/resolv.conf
vrtx-vcenter:~ # !ls
ls -l /etc/resolv.conf*
-rw-r–r– 1 root root 795 Oct  7 17:38 /etc/resolv.conf
-rw-r–r– 1 root root 795 Oct  7 17:35 /etc/resolv.conf.netconfig
-rw-r–r– 1 root root  22 Oct  8  2013 /etc/resolv.conf.orig
vrtx-vcenter:~ # yast2 ntp-client add server=210.173.160.27
vrtx-vcenter:~ # yast2 ntp-client enable
vrtx-vcenter:~ # sntp -P no -r 210.173.160.27
vrtx-vcenter:~ # date
Mon Oct  7 17:39:25 JST 2013
vrtx-vcenter:~ # cp -p /etc/resolv.conf.orig /etc/resolv.conf
vrtx-vcenter:~ # !ls
ls -l /etc/resolv.conf*
-rw-r–r– 1 root root  22 Oct  8  2013 /etc/resolv.conf
-rw-r–r– 1 root root 795 Oct  7 17:35 /etc/resolv.conf.netconfig
-rw-r–r– 1 root root  22 Oct  8  2013 /etc/resolv.conf.orig
vrtx-vcenter:~ #

vCenter appliance: “No networking detected”

If after deploying and booting the vCenter appliance, automatic network configuration fails, the vCenter console will display “No networking detected” in red. To configure networking:

1. Access the appliance VM console via the the vSphere client / web client

2. Login using “root” and “vmware” as password

3. At the command prompt, enter “/opt/vmware/share/vami/vami_config_net”

4. The below screen will be shown, allowing for network configuration

vCenter_network_config_0