X Rebirth: Free play guide – Getting started as a pirate – 3: Getting ready for a fight

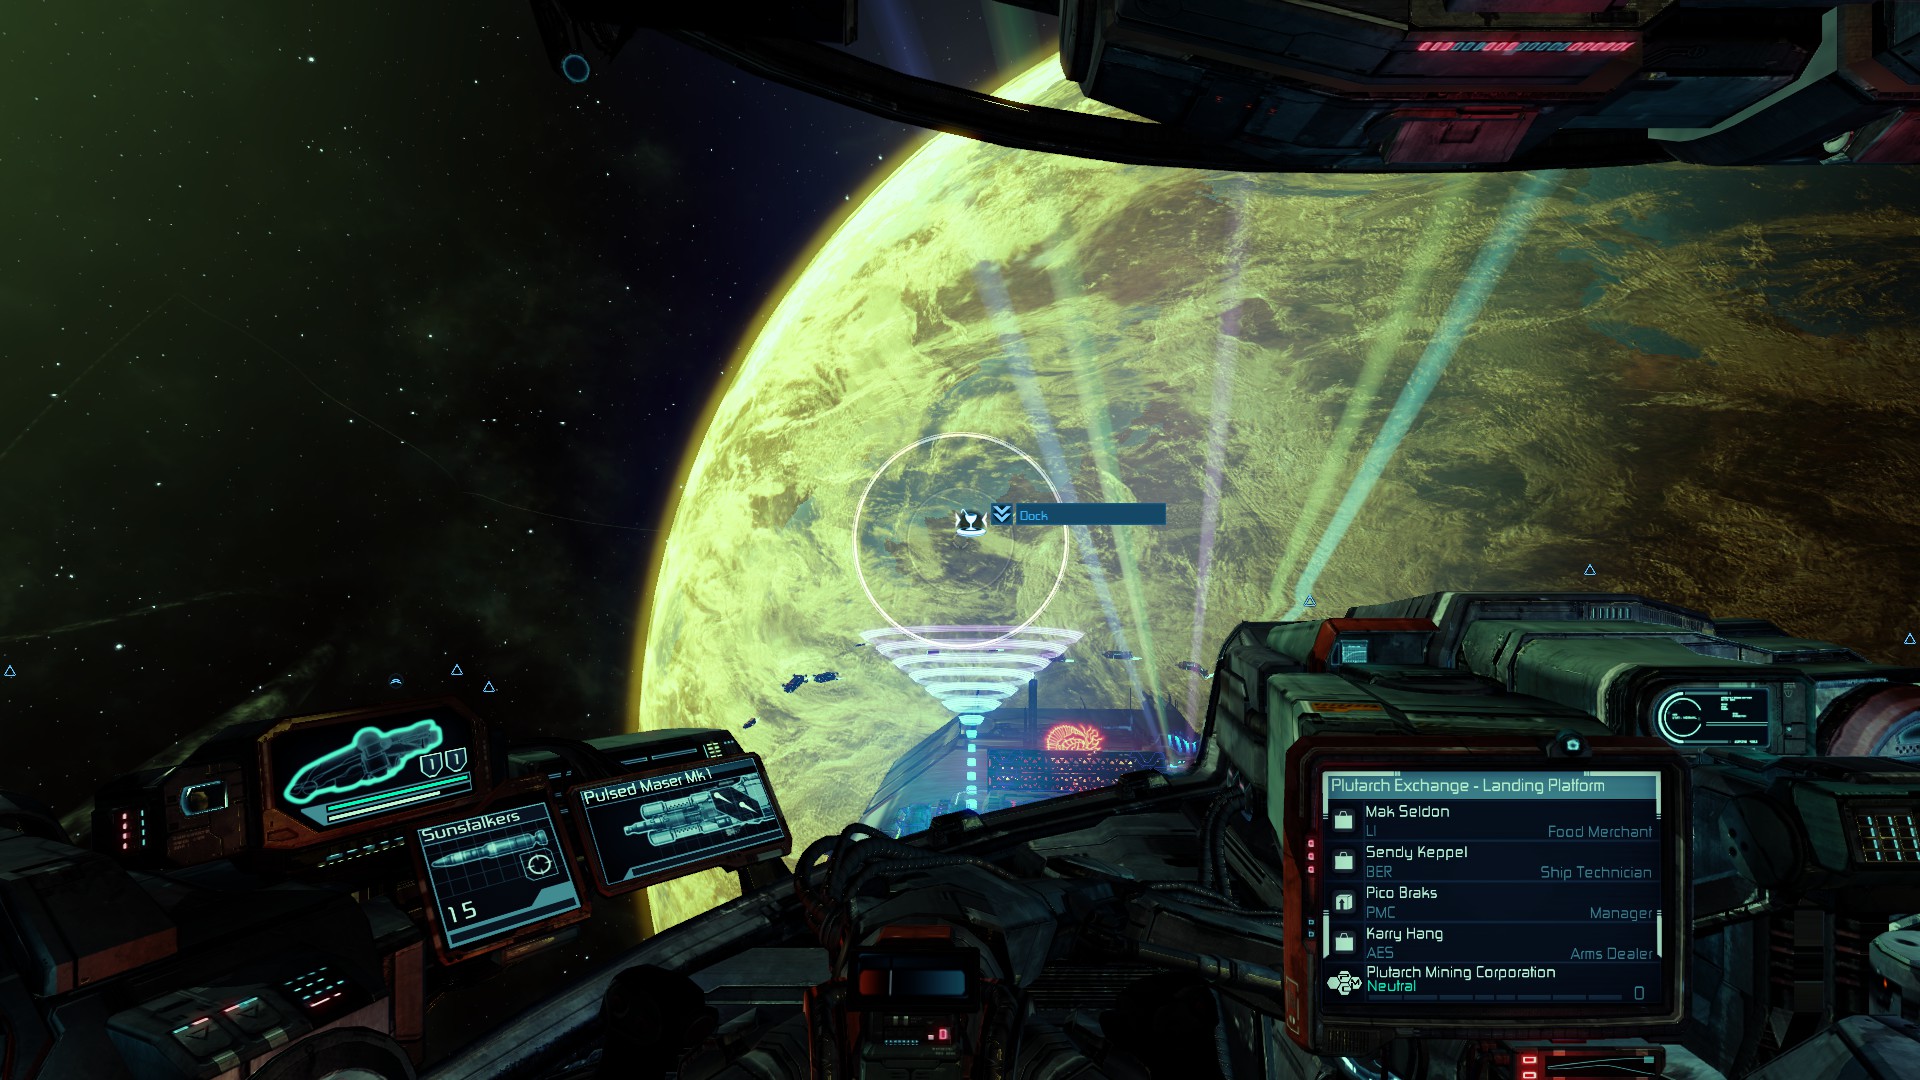
In order to take over another ship, four items are required:
– Missiles to take out sub-systems, like engines and jump drive
– Marines to board the ship with
– Marine officer to lead the boarding party
– Captain to run the ship after the takeover
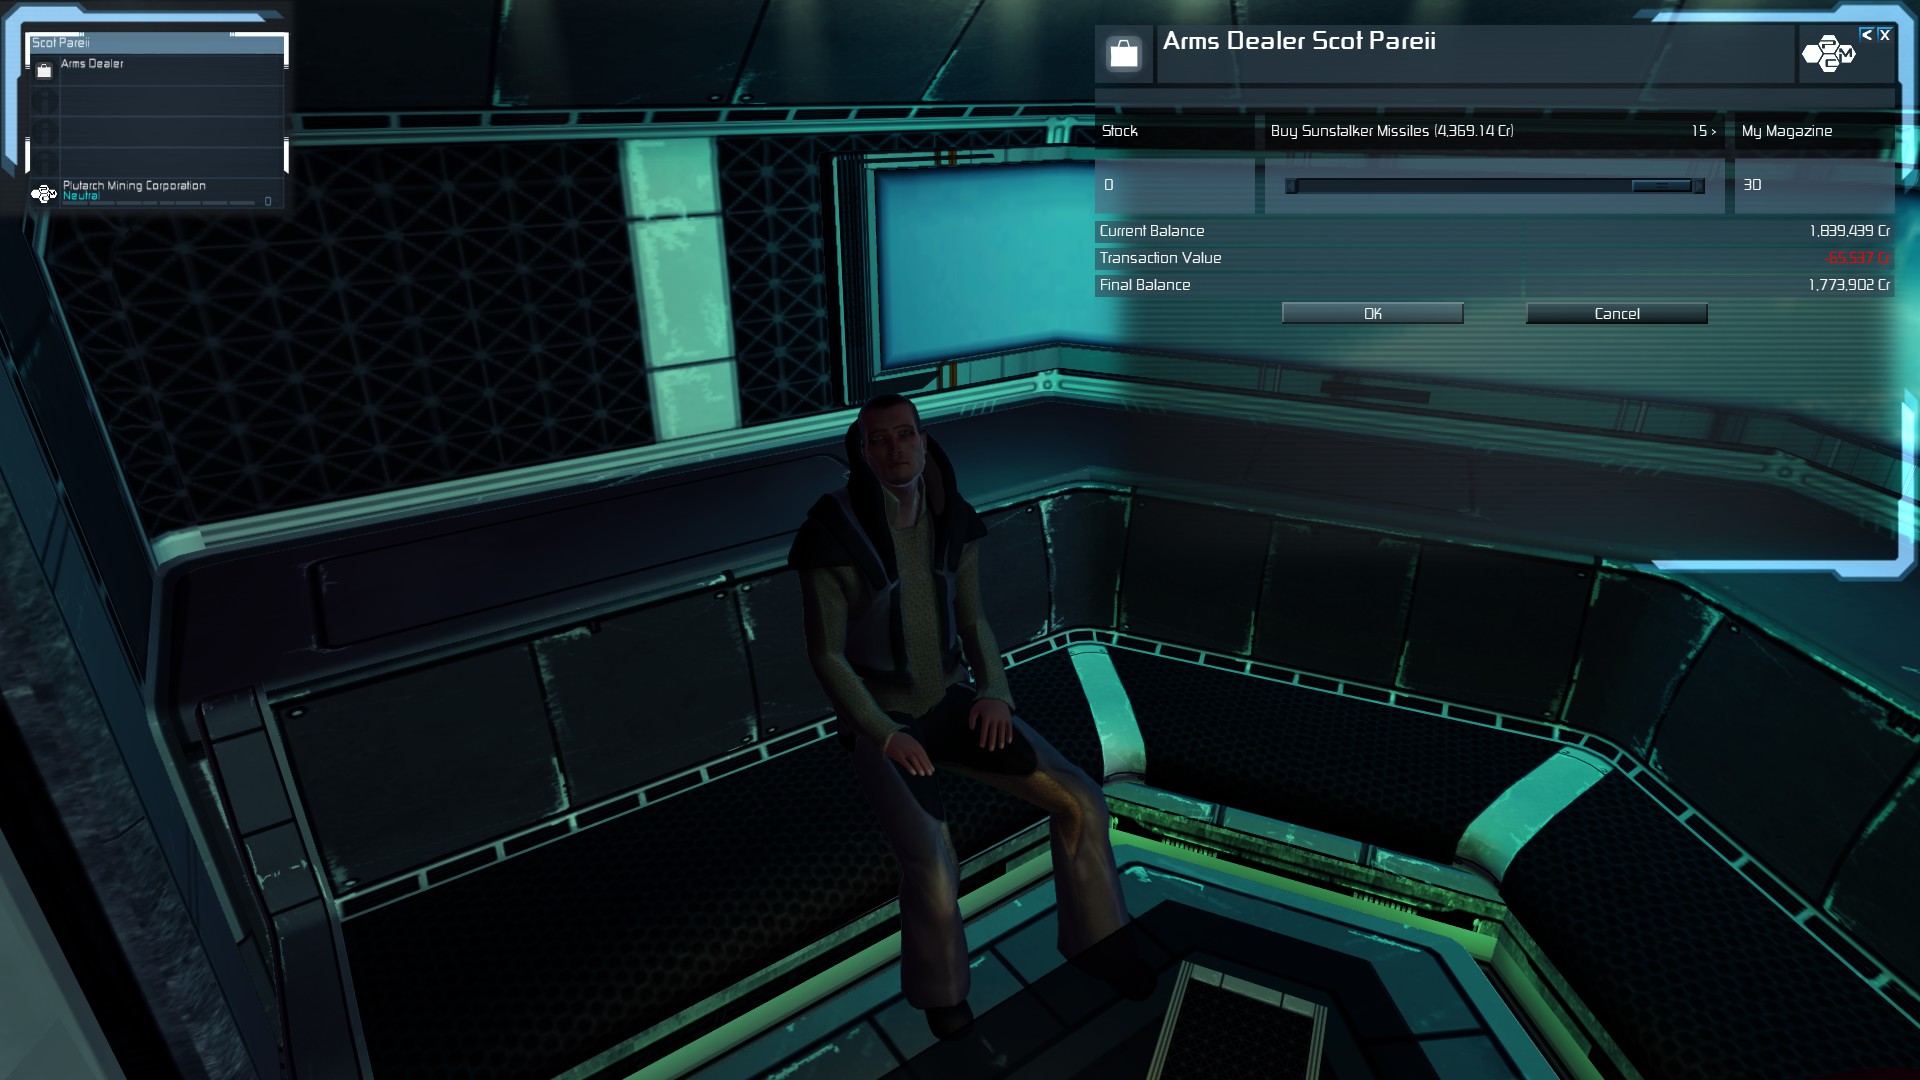
Missiles:
For missiles, enter a station listing an “Arms dealer”. Find him / her in the station and purchase the missile types desired. Personally I have a preference for Sunstalker missiles since they are guided and very easy to use for precision destruction of ship subsystems. The more the merrier. A fair few (15 or so) will be required to take over a typical Rahanas freighter.
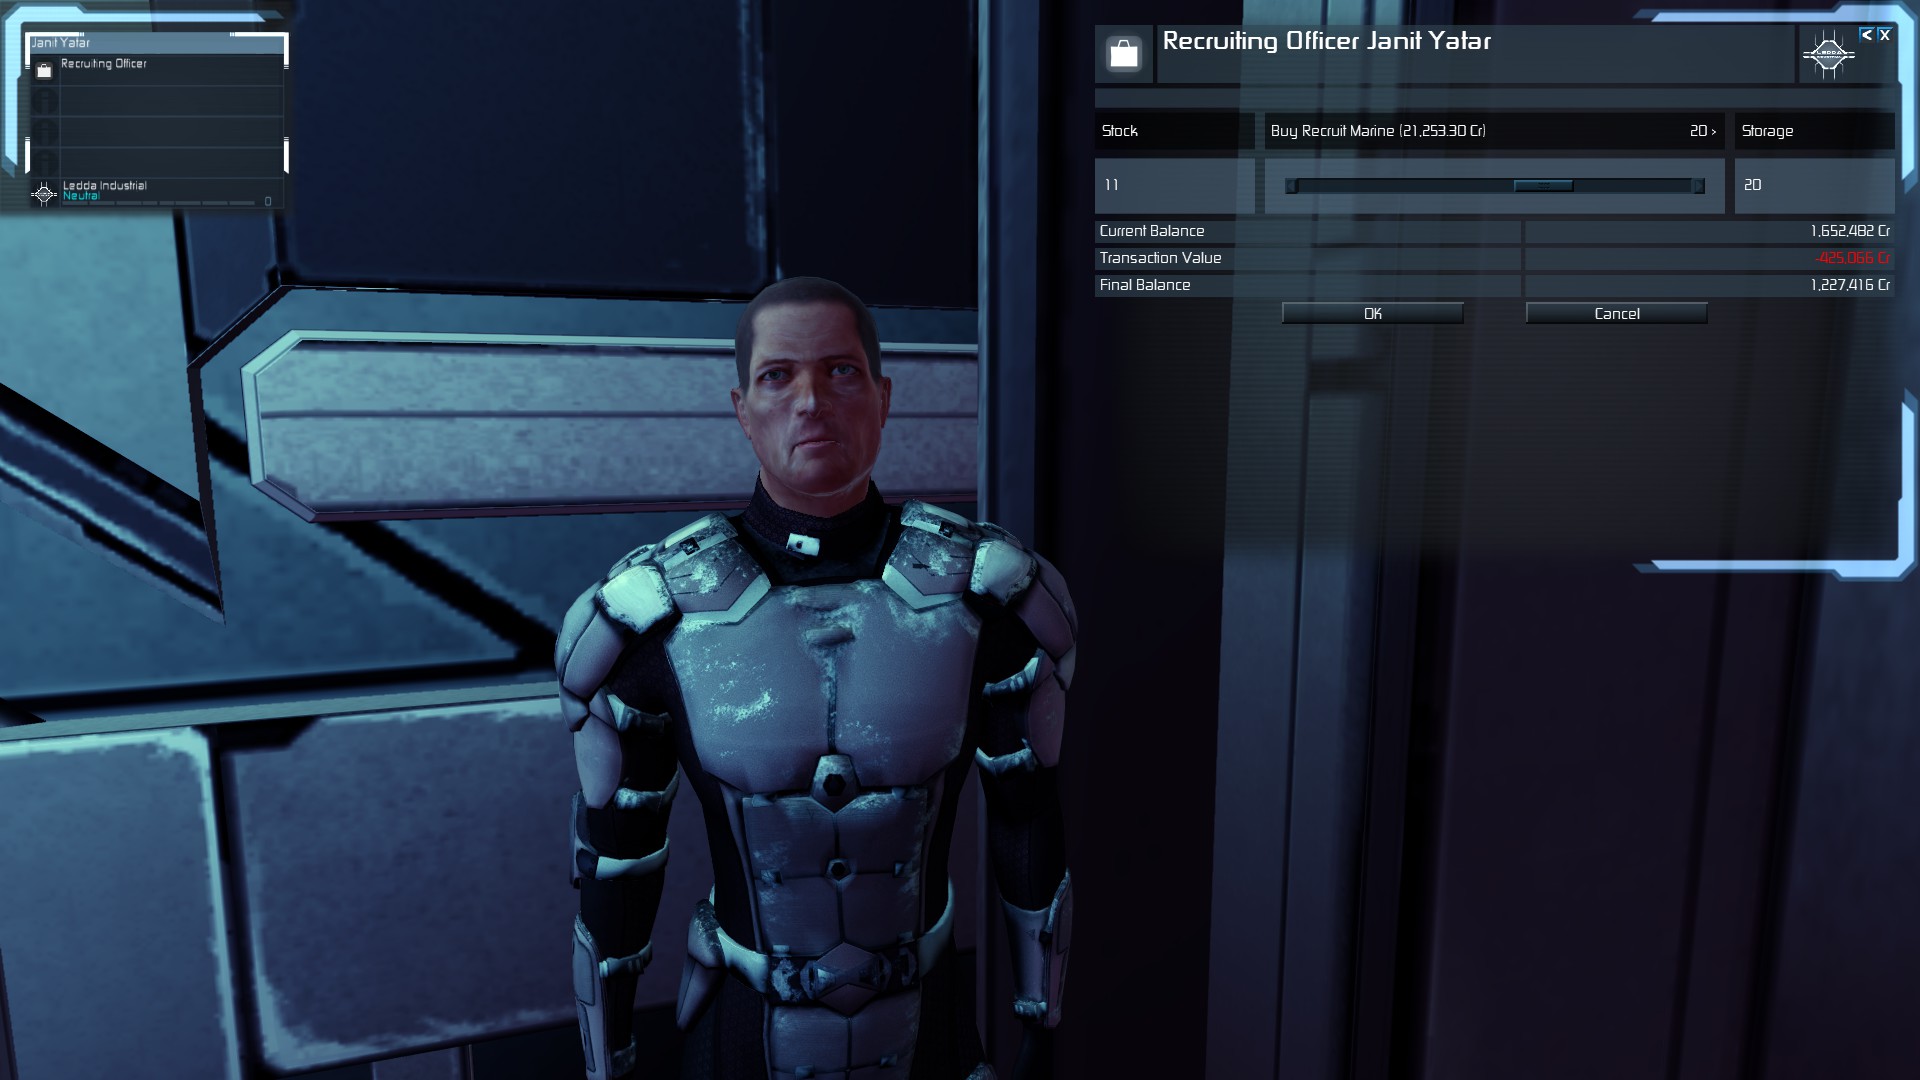
2014-01-04_00039

Marines:
Enter a station listing a “Recruitment officer”. Find him / her and select “hire marines”. I recommend at least 20 “Recruit marines” to be successful in boarding. Some may be lost depending on how well armed the target ship is.
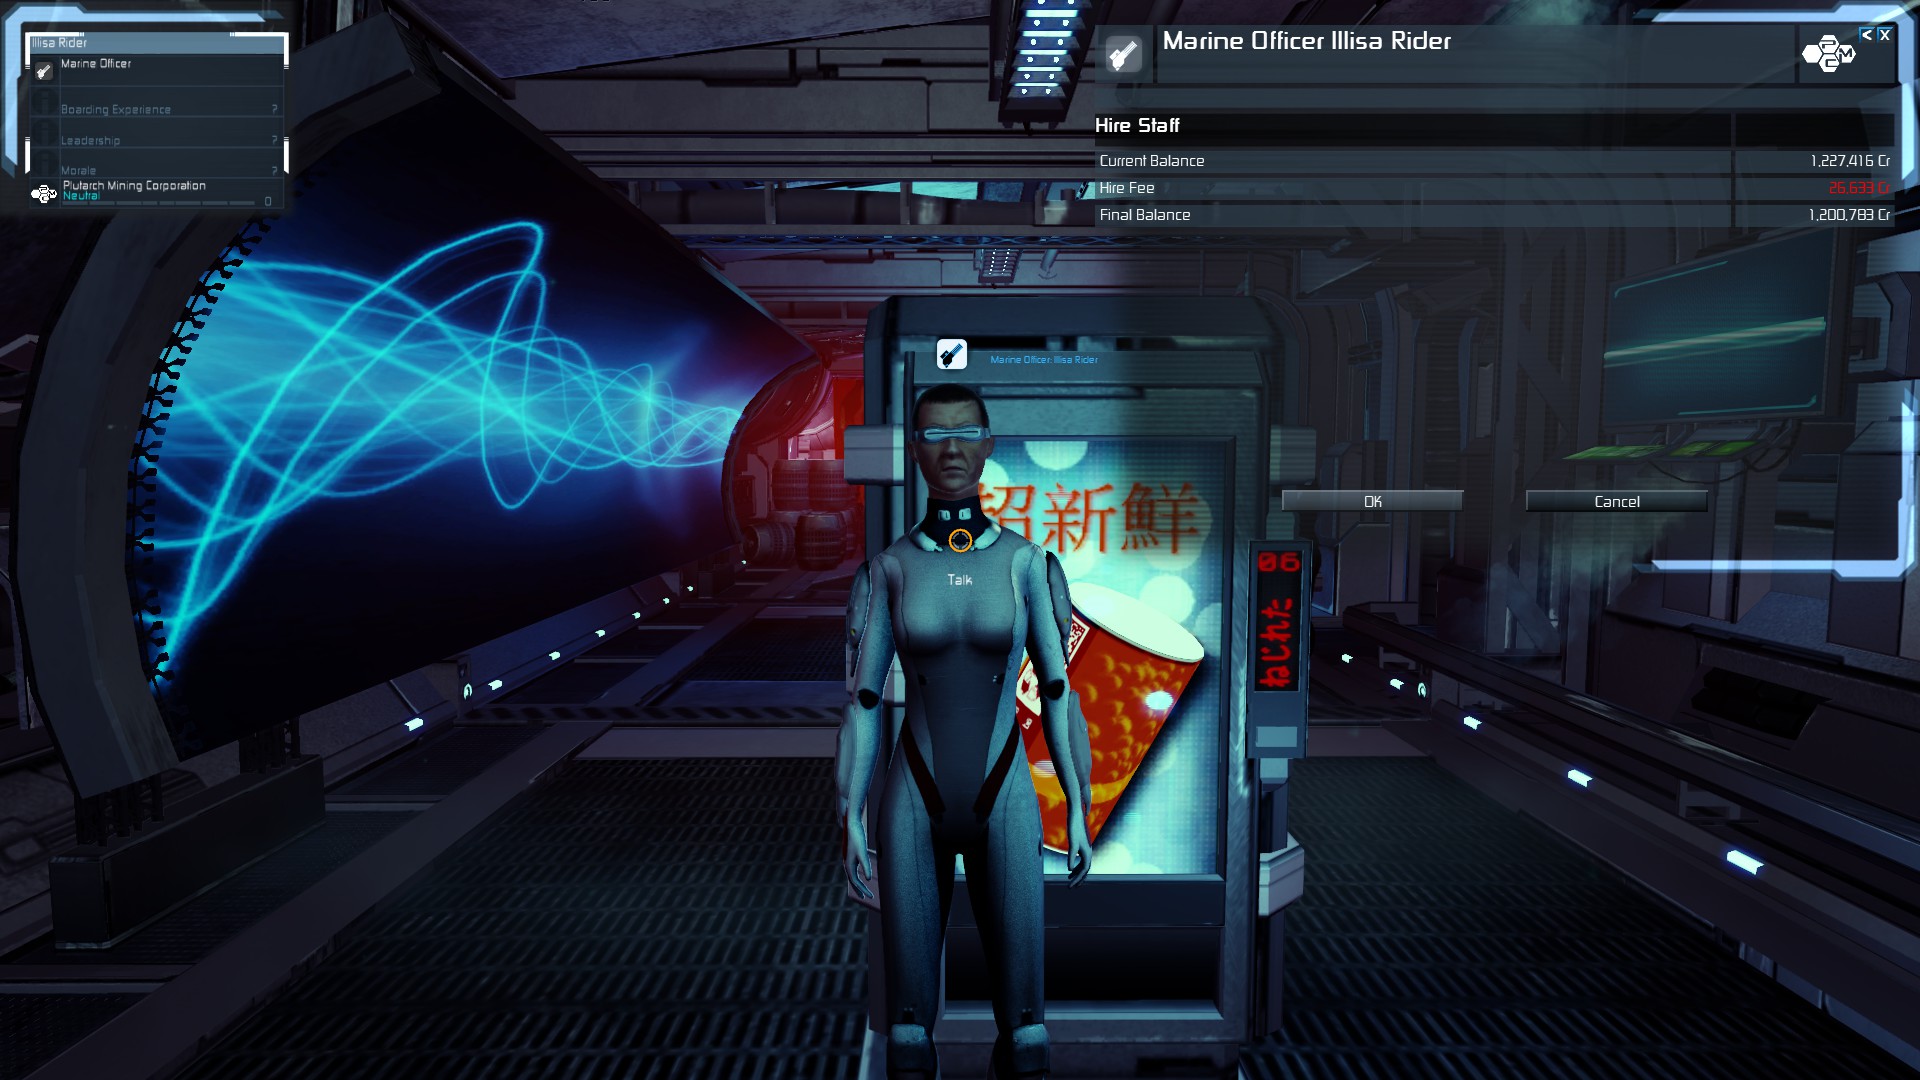
2014-01-04_00040

Marine officer:
Find a marine officer in a station by looking for the gun (or gasoline pump handle?) icon. It’s also possible to ask any NPC to provide guidance. In that case an icon will light up, helping to locate the type of staff being looked for. Select the marine officer and choose to hire him / her. Viewing the skills only lists question marks and is completely and utterly useless. So far I haven’t come across a marine officer who haven’t been able to get the job done however, so it shouldn’t be a big deal.
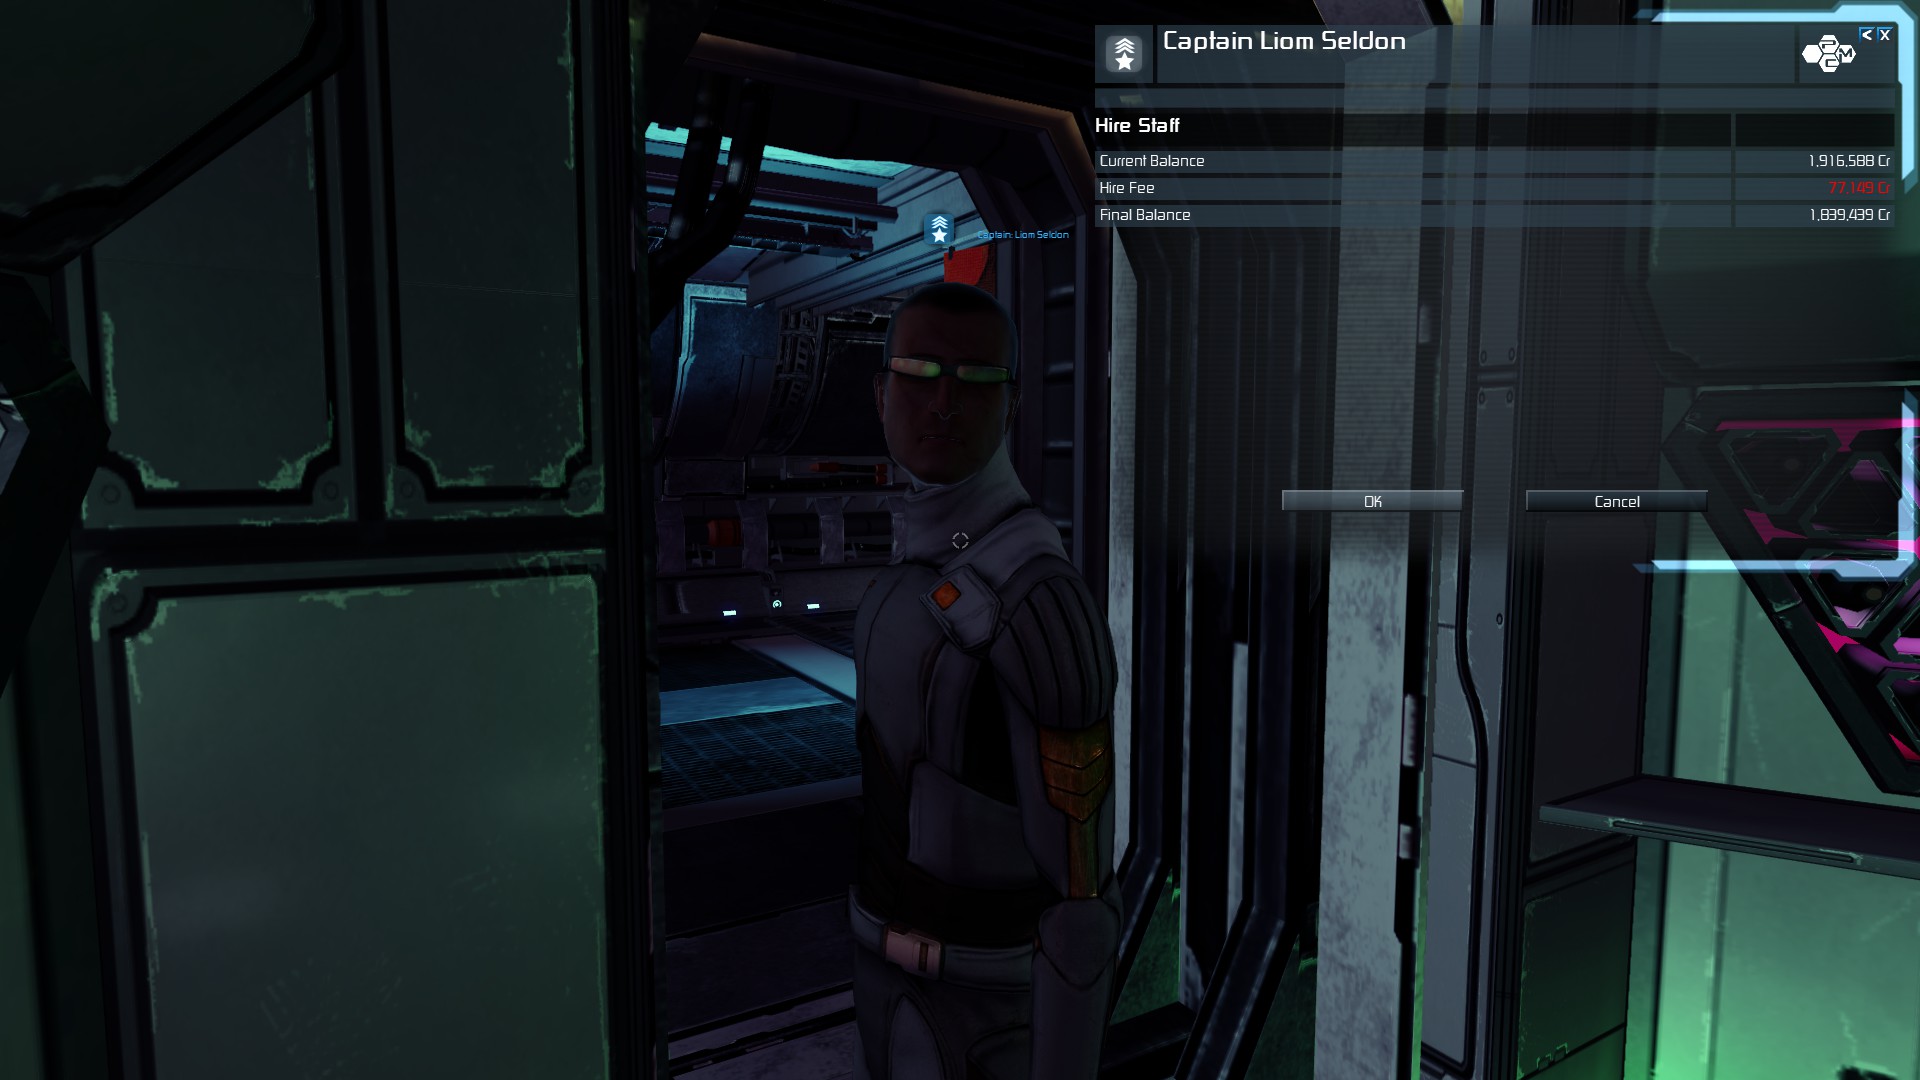
2014-01-04_00042

Captain:
Finding a captain is the same as the above. Find him / her in a station by looking for the star and stripes icon and select to hire. Between 45k~75k seems to be a normal hiring fee. The below captain is a bit on the expensive side, but we’ll take him anyway.
2014-01-04_00037

Congratulations! You’re now ready to go ship hunting.

X Rebirth: Free play guide – Getting started as a pirate – 2: Getting cash by long-range scanning

When starting in free play mode, the first area is in the region “Far Out”. To get cash fast the easiest way is to travel to “Big Empty” and scan for drifting containers. The contents can be sold in stations later. Sometimes cash is also found directly in the containers, making this a very efficient way to get some starting capital.

When starting a new game, the below screen is the first to be displayed. Enter the express way straight ahead. Travel until the end and ignore any stations between. The last station is “Big Empty” and is an area particularly full of drifting containers.
2014-01-04_00001

Arriving, it’s possible to bring up a map showing the local area by pushing “.”:
2014-01-04_00003

Switch to long-range scanning mode by:
1. Push [Enter]
2. Select [1]
3. Select [5]

You are now in long-range scanning mode. Press and hold [r] until the sound reaches it’s peak. Then release and the scanning pulse will be released. Press for too short or too long time and it will fail. Items will be highlighted on the screen. Aim the ship towards any of the items and travel to them. Repeat the scan pulse a few times to ensure the ship is on track.
2014-01-04_00007

When the item has been reached, use the primary weapon (pulsed maser: left mouse button) to break the container:
2014-01-04_00011

Once open, the items inside will be available. Simply run the ship into them and they will be picked up automatically:
2014-01-04_00015

Some containers contain nothing, but almost all contain something. Keep doing this until bored. Even a short run of 30 min or so will result in great increases in the bank account.

Selling the items found:
Navigate to a station. Aim for cocktail glass-icons or icons with “R”. When close enough, select the icon to see who are inside. Double-click to get the docking menu option:
2014-01-04_00026

Once in the station, walk up to any NPC (non-player character) with a briefcase above their head. Select the NPC and see what he / she is offering. Prices for purchase and sales are displayed for each item. Select the icon on the far left to view the default / regular pricing for that item and compare with the price offered. This way it’s possible to separate good deals from bad ones:
2014-01-04_00032

X Rebirth: Free play guide – Getting started as a pirate – 1: Basic navigation

X Rebirth is now, with version 1.21, finally in a state where it’s playable. Previously it was crashing on a regular basis and I gave it a month to get back on track. Luckily the dev’s have fixed up the worst bugs by the time of writing.

The campaign mode is still not all that great though, so I started out in free play to see if it was better. It is – a lot. However, getting started can be a challenge for new players (it was for me) so I thought I’d write up a short guide. Personally I prefer some action so the guide focuses on how to take over other ships to build up your trading fleet rather than going the long way and purchase a fleet.

Note: I’ve included a step on editing save files. This is a workaround because I haven’t figured out how to fix a ships engines yet. You can change a lot by editing the save files but personally I don’t because it takes the fun out of the game by making it too easy.

The guides will cover:
1. Navigation
2. Getting cash by long range scanning
3. Getting ready for a fight (missiles and marines)
4. Taking over another ship
5. Repairing a ship by editing a save file

Navigation / controls
Start a new game in free play mode. Navigate as follows:

[Left mouse]: Look around / change direction (click and hold)
[Right mouse]: Fire primary weapon
[Mouse wheel]: Throttle (forwards and backwards)

[w]: Up
[a]: Left
[s]: Down
[d]: Right

[r]: Fire secondary weapon (missiles) / Scan (if in long-range scan mode)
[Enter]: Bring up quick menu
[Space]: Toggle mouse look / Steering mode
[Tab]: Boost (eats up your shield energy – so be careful in hostile areas)

[.]: Local map
[,]: Region map
[m]: Switch between missiles
[n]: Switch primary weapons

Nagios3 – location of config and plugin directories with Crunchbang (debian squeeze)

First:
apt-get install nagios3
apt-get install freeipmi

Access from http://localhost/nagios3/

Config files:
root@cruncher01:~# ls -l /etc/nagios3/conf.d/
total 32
-rw-r–r– 1 root root 1695 Nov  1 23:11 contacts_nagios2.cfg
-rw-r–r– 1 root root  418 Nov  1 23:11 extinfo_nagios2.cfg
-rw-r–r– 1 root root 1152 Nov  1 23:11 generic-host_nagios2.cfg
-rw-r–r– 1 root root 1803 Nov  1 23:11 generic-service_nagios2.cfg
-rw-r–r– 1 root root  678 Nov  1 23:11 hostgroups_nagios2.cfg
-rw-r–r– 1 root root 2167 Nov  1 23:11 localhost_nagios2.cfg
-rw-r–r– 1 root root  657 Nov  1 23:11 services_nagios2.cfg
-rw-r–r– 1 root root 1609 Nov  1 23:11 timeperiods_nagios2.cfg
root@cruncher01:~#

Plugin directory:
root@cruncher01:~# ls -l /usr/lib/nagios/plugins/ | head
total 3588
-rwxr-xr-x 1 root root 108904 Jun 28  2012 check_apt
-rwxr-xr-x 1 root root   7262 Jul  3  2012 check_backuppc
-rwxr-xr-x 1 root root   2242 Jun 28  2012 check_breeze
-rwxr-xr-x 1 root root  51984 Jun 28  2012 check_by_ssh
-rwxr-xr-x 1 root root   1723 Jul  3  2012 check_cert_expire
lrwxrwxrwx 1 root root      9 Jun 28  2012 check_clamd -> check_tcp
-rwxr-xr-x 1 root root  35112 Jun 28  2012 check_cluster
-rwxr-xr-x 1 root root  51536 Jun 28  2012 check_dhcp
-rwxr-xr-x 1 root root  47568 Jun 28  2012 check_dig
root@cruncher01:~#

How to enable NTP on the vCenter appliance

VMware vCenter Server Appliance 5.1.0.10200 Build 1235310
root@10.10.10.10’s password:
Last login: Mon Oct  7 17:18:29 2013 from vrtx-vcenter
vrtx-vcenter:~ # yast2 ntp-client add server=210.173.160.27

Error:
Cannot update the dynamic configuration policy.

vrtx-vcenter:~ # ls -l /etc/resolv.conf*
-rw-r–r– 1 root root  22 Oct  8  2013 /etc/resolv.conf
-rw-r–r– 1 root root 795 Oct  7 17:35 /etc/resolv.conf.netconfig
vrtx-vcenter:~ # cp -p /etc/resolv.conf /etc/resolv.conf.orig
vrtx-vcenter:~ # !ls
ls -l /etc/resolv.conf*
-rw-r–r– 1 root root  22 Oct  8  2013 /etc/resolv.conf
-rw-r–r– 1 root root 795 Oct  7 17:35 /etc/resolv.conf.netconfig
-rw-r–r– 1 root root  22 Oct  8  2013 /etc/resolv.conf.orig
vrtx-vcenter:~ # cat /etc/resolv.conf.netconfig > /etc/resolv.conf
vrtx-vcenter:~ # !ls
ls -l /etc/resolv.conf*
-rw-r–r– 1 root root 795 Oct  7 17:38 /etc/resolv.conf
-rw-r–r– 1 root root 795 Oct  7 17:35 /etc/resolv.conf.netconfig
-rw-r–r– 1 root root  22 Oct  8  2013 /etc/resolv.conf.orig
vrtx-vcenter:~ # yast2 ntp-client add server=210.173.160.27
vrtx-vcenter:~ # yast2 ntp-client enable
vrtx-vcenter:~ # sntp -P no -r 210.173.160.27
vrtx-vcenter:~ # date
Mon Oct  7 17:39:25 JST 2013
vrtx-vcenter:~ # cp -p /etc/resolv.conf.orig /etc/resolv.conf
vrtx-vcenter:~ # !ls
ls -l /etc/resolv.conf*
-rw-r–r– 1 root root  22 Oct  8  2013 /etc/resolv.conf
-rw-r–r– 1 root root 795 Oct  7 17:35 /etc/resolv.conf.netconfig
-rw-r–r– 1 root root  22 Oct  8  2013 /etc/resolv.conf.orig
vrtx-vcenter:~ #